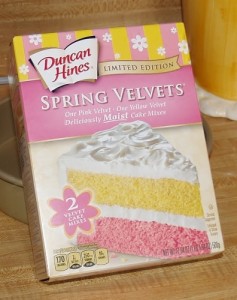
I have several Peeps themed recipes planned for the weeks leading up to Easter so I should be able to get them all done if I post about one per week. If not, I will have to step it up and do more than that. I shared my Sunflower Peeps Cake last week and of course last year I posted my Rainbow Bundt Cake and my Peeps! Dioramas. Those were great fun to do, that’s for sure. I enjoyed making these Petit Fours as well – they take a while to make but it is not a lot of hands-on time. Most of the time is spent refreezing the cake to make it easier to handle. I originally saw this recipe on my friend Joan’s blog called Chocolate, chocolate and more. She does a great tutorial and I could not have done this without her. She also has a wonderful pound cake recipe to make her petit fours with and I want to encourage you to go over to her blog and see the great tutorial and get the pound cake recipe. But when I was at the grocery last week I saw this wonderfully pretty cake mix by Duncan-Hines:
I decided I wanted to use it instead. They would make lovely little cakes, pretty dainty delectable petit fours. So let’s get started!
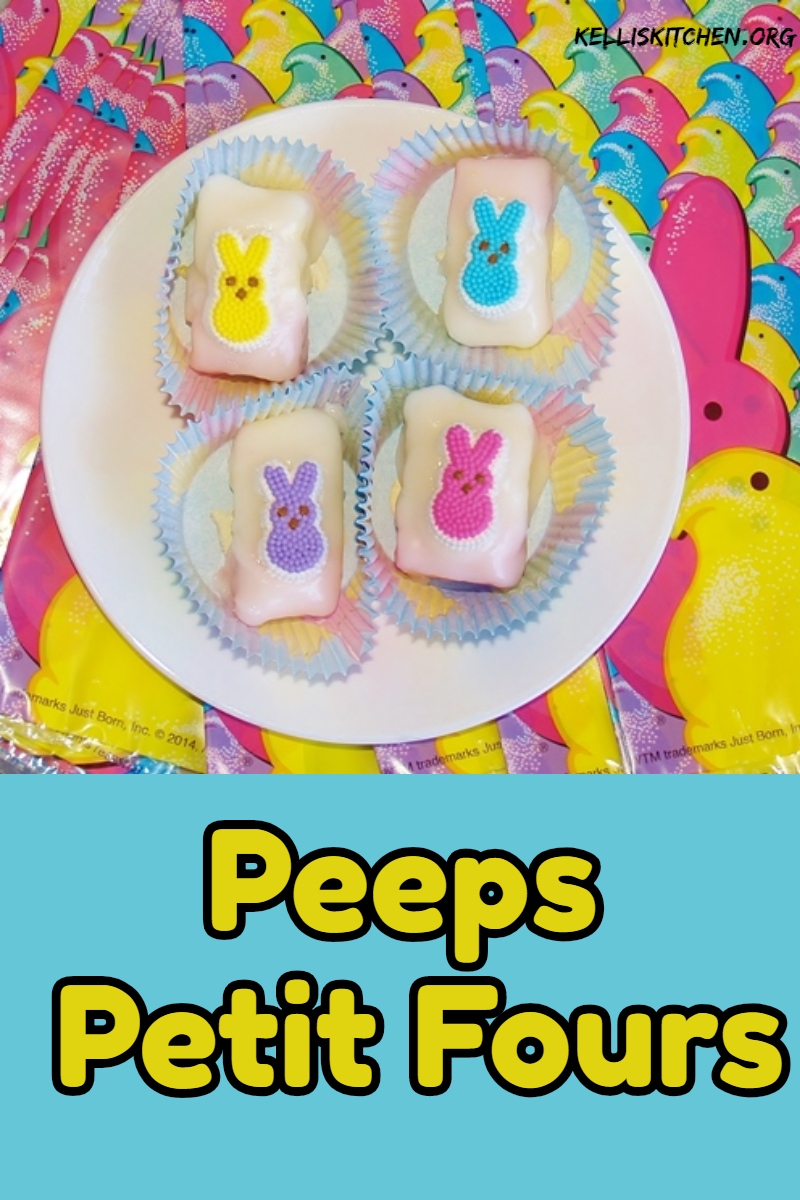
Peeps Petit Fours
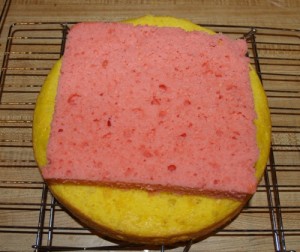
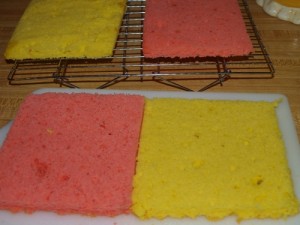
Using Duncan-Hines cake mix prepare and bake as directed then allow to cool. I used round cake pans because of the two different colors. Then I cut off the round ends like this:
Cover and freeze the cakes for an hour or so.
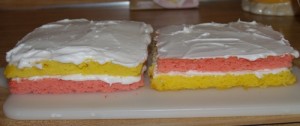
Then take them out and slice through them horizontally making it even on top and in the middle like this:
You can make the butter cream icing now with these ingredients:
1 Cup Crisco shortening
3 ¾ cups (or a 1 lb box) of powdered sugar.
1 teaspoon of vanilla – Joan says to use the clear kind, which I found for this recipe
1 Tablespoon of Meringue Powder (I found this at Michael’s in the baking aisle)
8 teaspoons of water
Put it all in a bowl and mix until smooth.
Then spread over the bottom half of the cake(s)
Stack onto each other and then spread a layer on top of the top. Then put toothpicks to hold plastic wrap off of icing and then wrap the plastic wrap around it and put it back in the freezer for a couple of hours.
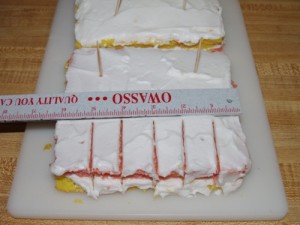
Bring out the cakes again. First you will make sharp slices around the edges to make the cake look uniform. Then measure and cut like this. Joan made hers 2 inches wide and I recommend you do that. I made mine 1 inch wide and I have some trouble getting them to stand alone.
Back into the freezer. I recommend you leave them in there overnight at this point.
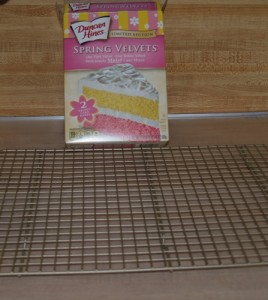
The next day, you will make the glaze/fondant for the cakes. It is such a pretty color all white and pearly. I sat up my workspace next to the stove like this:
Then I made the glaze. Here’s what you will need:
6 Cups of powdered sugar
½ Cup water
2 Tablespoons of clear corn syrup
1 teaspoon of the clear vanilla
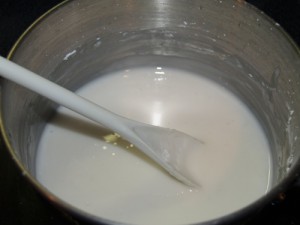
Put everything except the vanilla in a pot on the stove and turn the burner on low.
You will need to stir the entire time.
Have your candy thermometer handy and only leave it on the stove long enough to reach about 92 F.
When it reaches 92F, take it off the burner and stir in the vanilla.
Working in batches of 2, like I showed you in my Cherry Mash Candy recipe, pull 2 pieces out of the freezer and place the cakes on a fork. Use a small ladle to dip and pour the glaze over the cake until fully covered. You will need to do this several times to make sure it gets a good coating.
Then carefully slide the cake off the fork with a knife onto a wire rack like I showed you earlier.
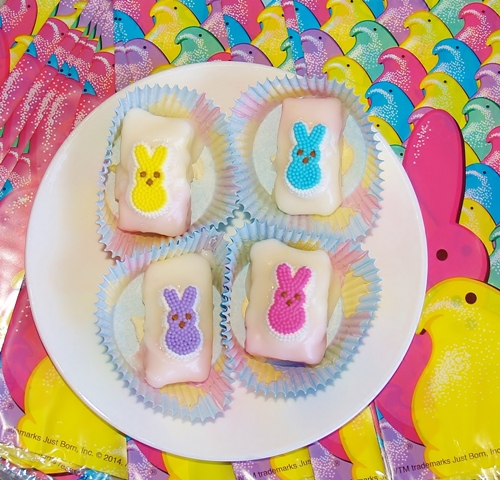
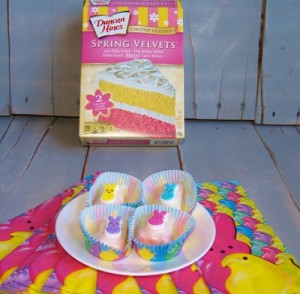
At this point, Joan made some lovely purple and pink flowers to go on hers. Yeah, I couldn’t make Peeps so I just bought some at Michael’s! Aren’t they cute?
After they quit dripping, I took the wire racks out and sat them down in a prepared place in the garage where it was very cool. It took about 3 hours for them to set up. We’ve been eating them ever since!
I think for my first try they turned about beautifully! Thanks Joan for such a great recipe – that butter cream rocks!
love!
Kelli, these turned out fabulous! And I love your little bunnies, perfect for the season!
Thanks Joanie – I couldn’t have done it without you!
Very pretty and unusual.
Thank you Lillian!
They sound like a lot of work but your end result is very cute.
Thank you!
Oh my gosh, how creative and cute! My husband is obsessed with peeps, I may have to create a peep treat for him this year and these look perfect! 🙂
I’m doing some easier ones in coming weeks! Watch for those!
I’m doing some easier ones in coming weeks! Watch for those! Thank you!
I’m so glad Easter is around the corner. I love all the Easter recipes and your peeps petit fours looks so delicious! I might have to come out from under my cooking slump and try these out.
Cute. My grands will love these.
But, why didn’t you just use 8″ square pans in the first place?
I don’t have any! Before I began learning how to cook 4 years ago, I didn’t have any pans – when I got these, they were round. I do have one square one for brownies now but if there hadn’t been 2 different colors I could have used my Pyrex pan……….I’ll have to get another brownie pan someday!
These will be the cutest item on any Easter menu 🙂
Cheers
Choc Chip Uru
Thank you CCU! I worked really hard on them!
These are so cute! I bet they’re equally delicious. You’re so creative!
Thank you! Hope you had a great week on spring break!
These are so festive looking!
Thank you! They were also delicious – my big crew was here and ate them all in one sitting!