This is a short tutorial on how to prepare green chilies for use. I don’t have a gas oven and the grill is oftentimes not allowed during the summer where we live because of wind or drought. I roast my green chilies in the oven with great success! Here we go…..
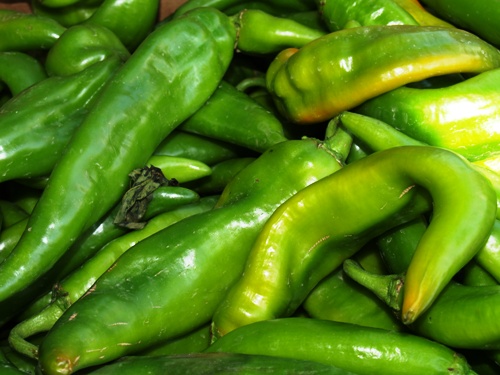
Wash and dry your peppers. Make sure you get ones that are not injured by an errant knife when the pickers were picking. If you do have one and you think it is salvageable, cut out the bad part and see how things look after roasting. You can always throw it away later.
Set your oven to HI broil.
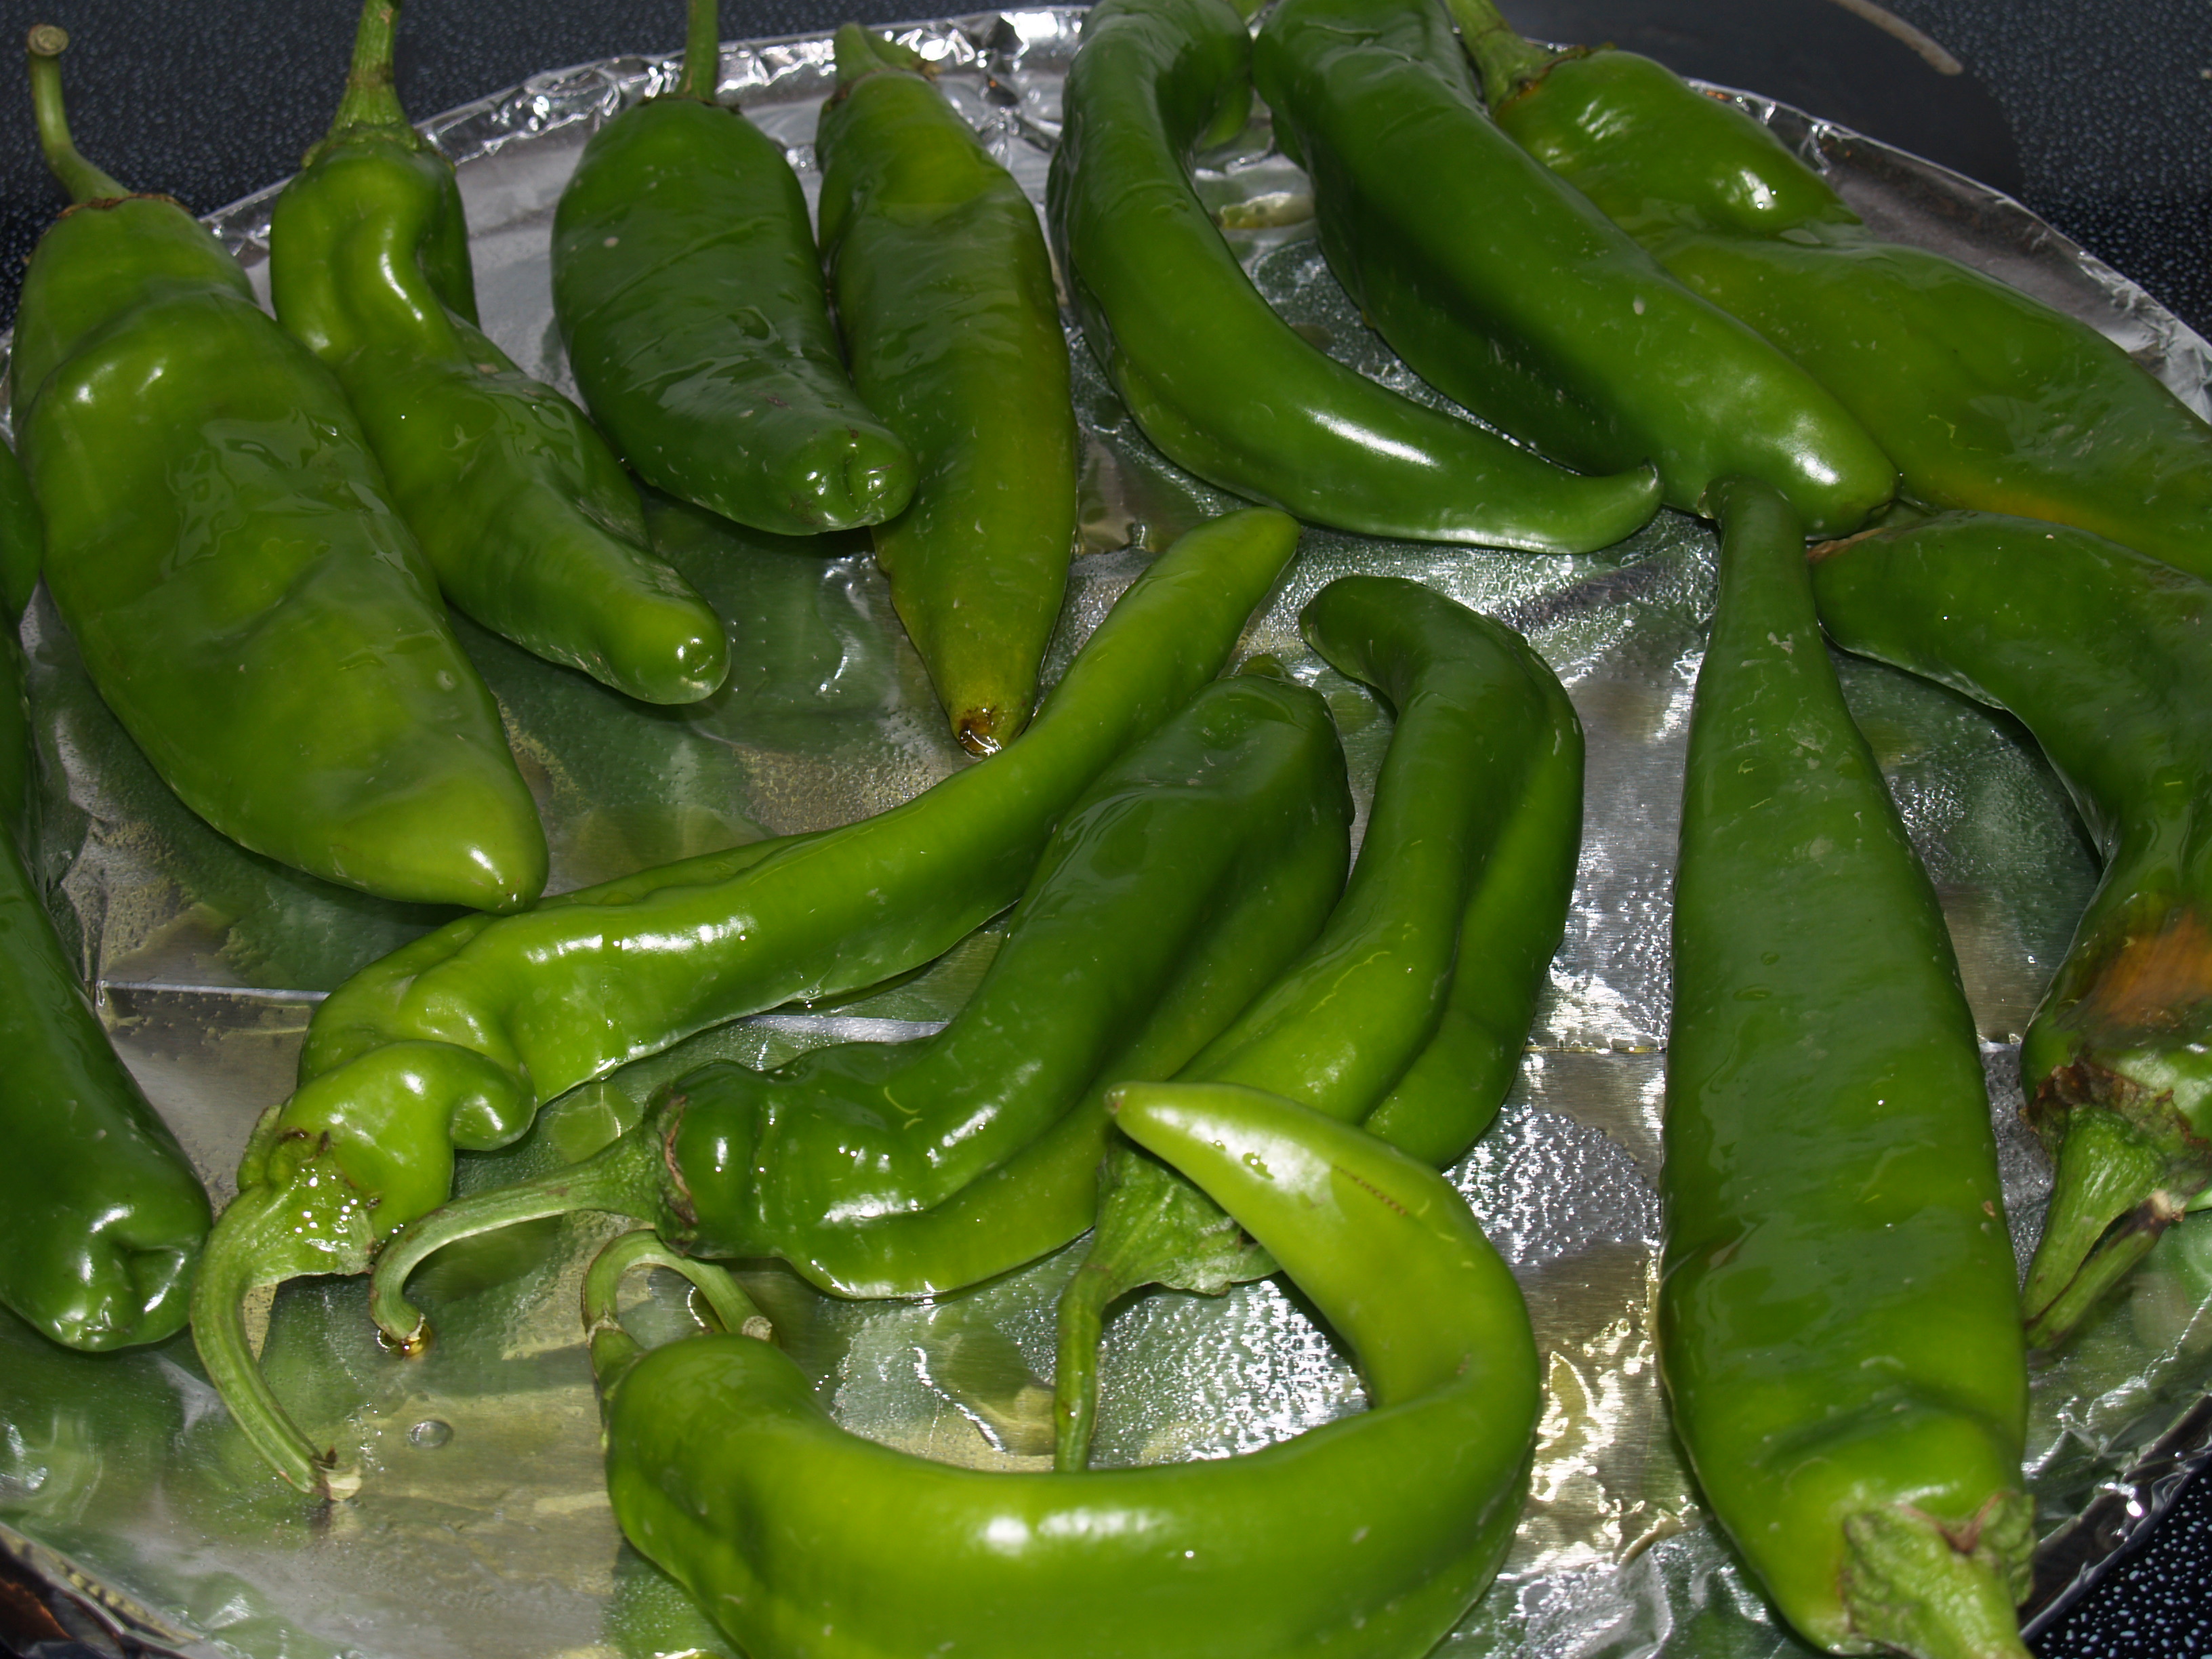
Place foil on your baking sheets and position peppers on them so they are not touching. Sprinkle on or toss with olive oil.
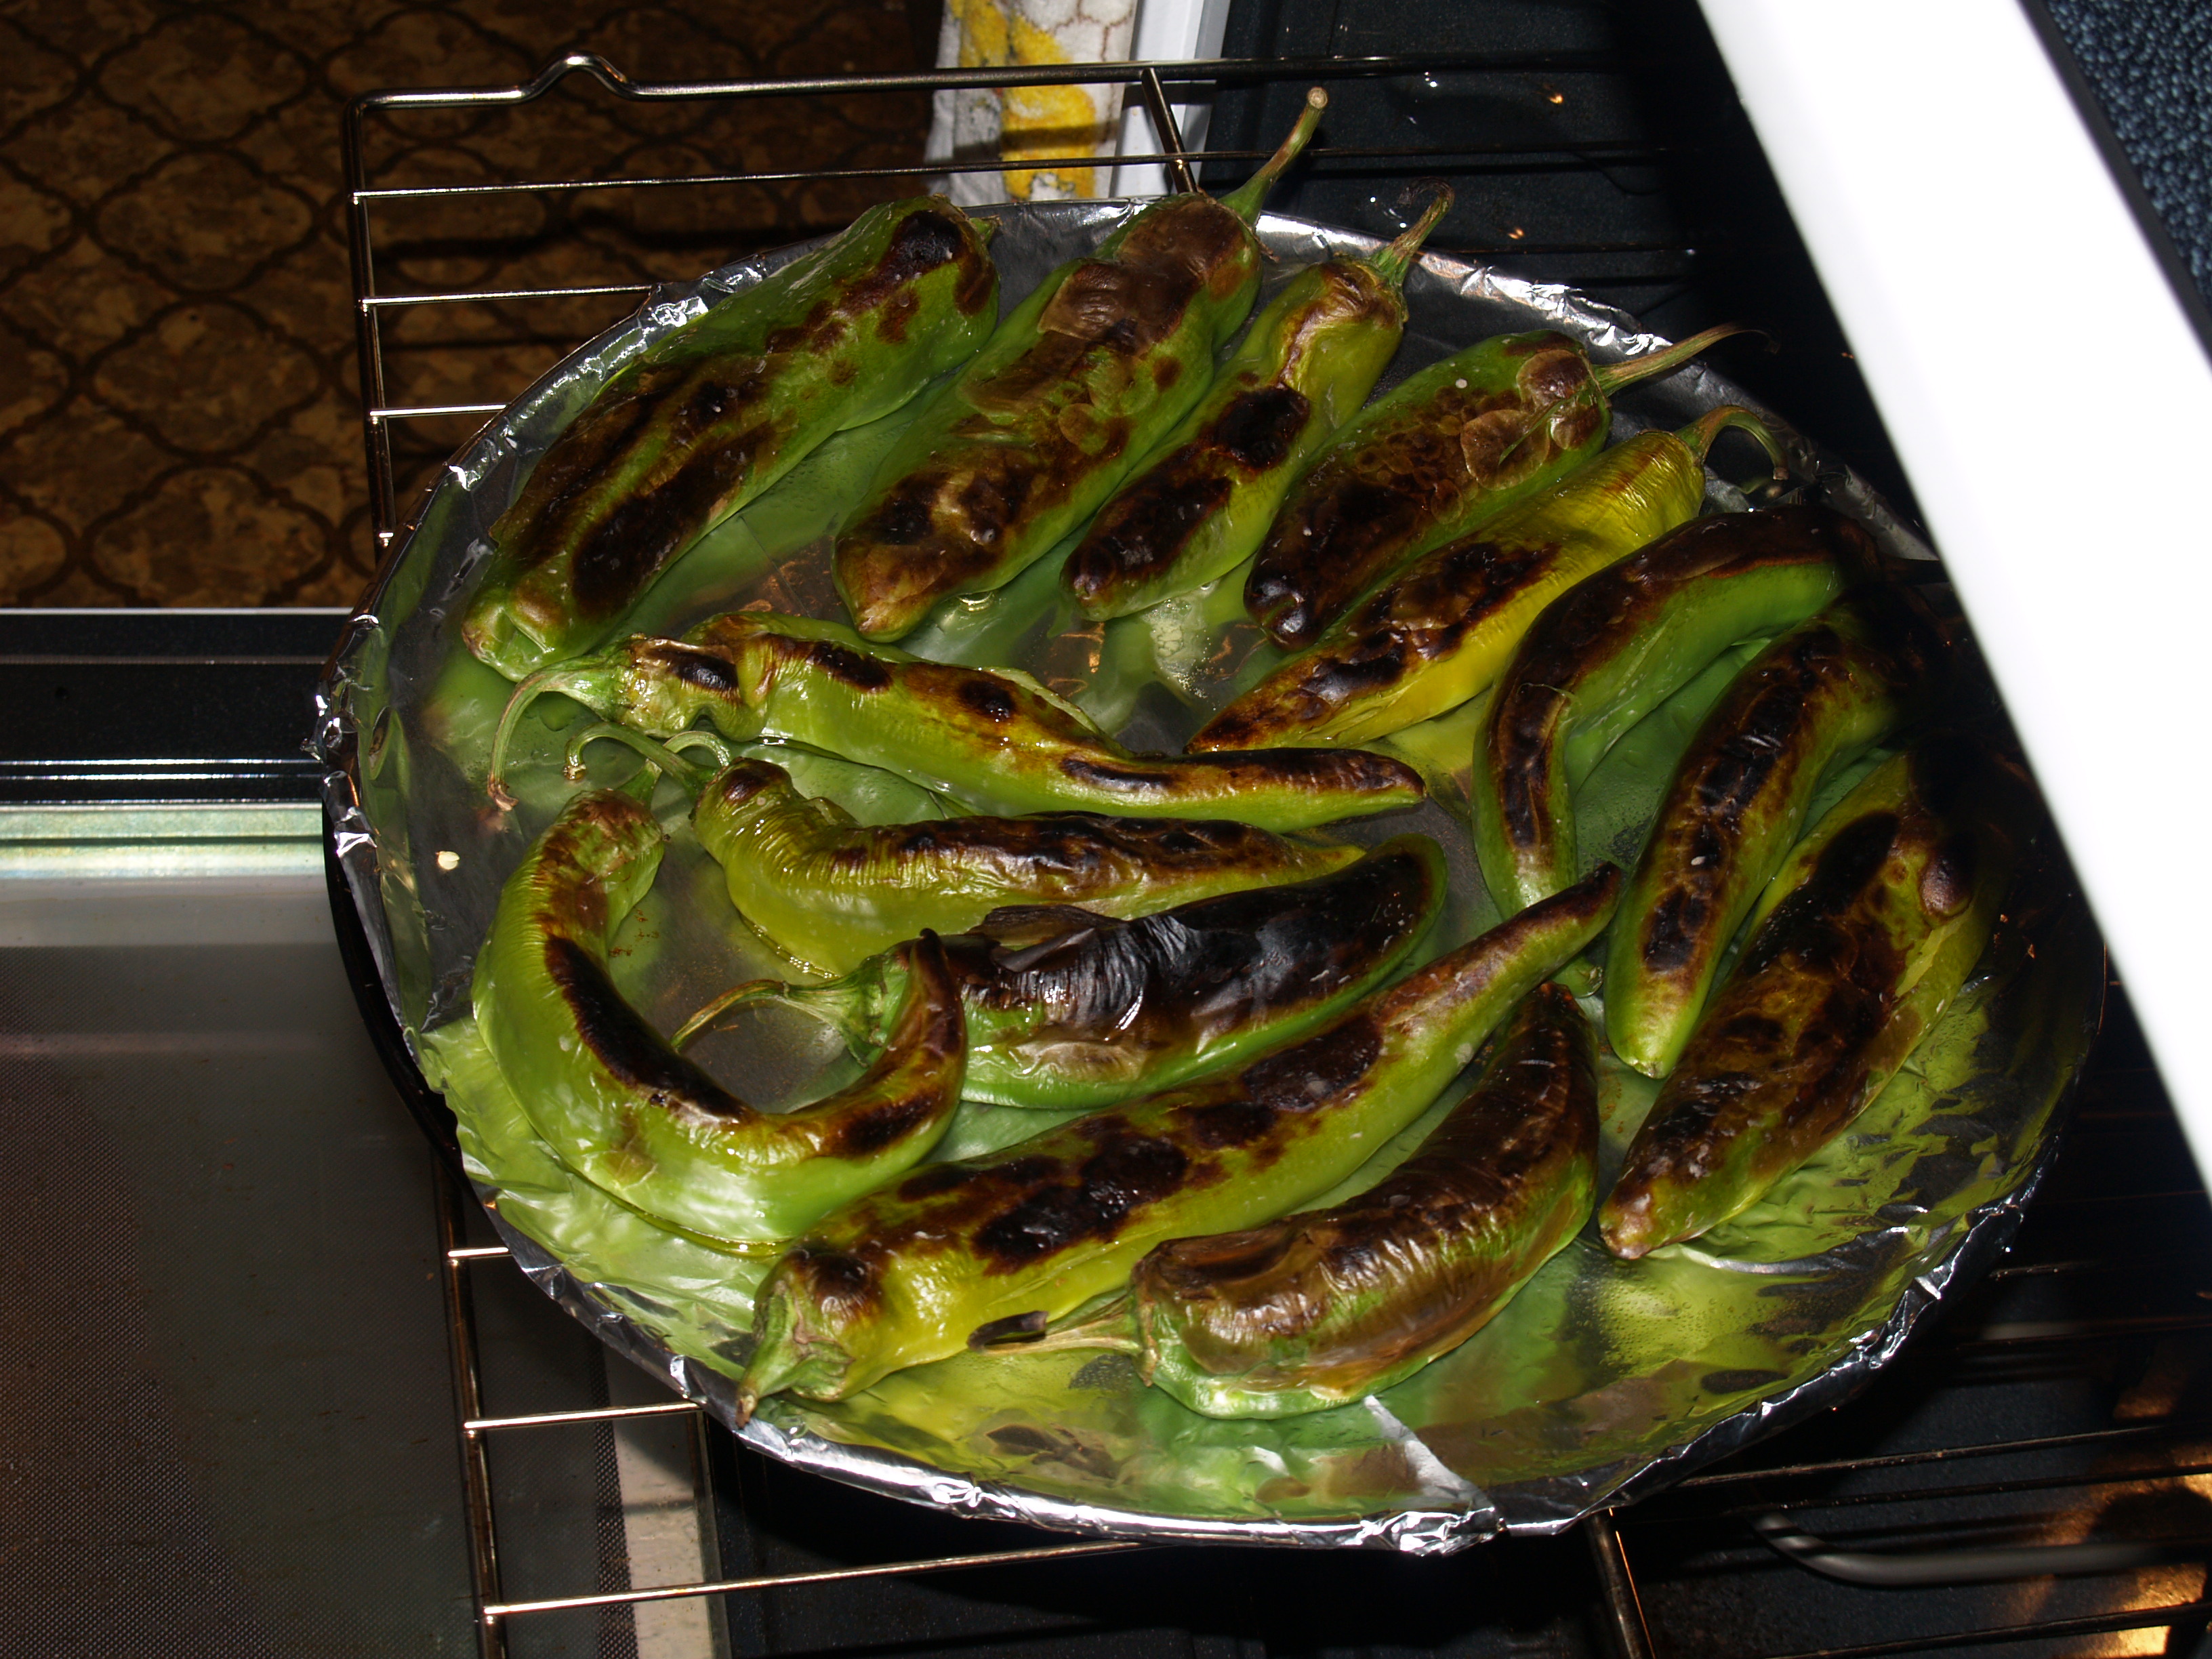
Put peppers into oven sitting on highest rack. Allow them to roast on one side for about 7-10 minutes. They should look like this:
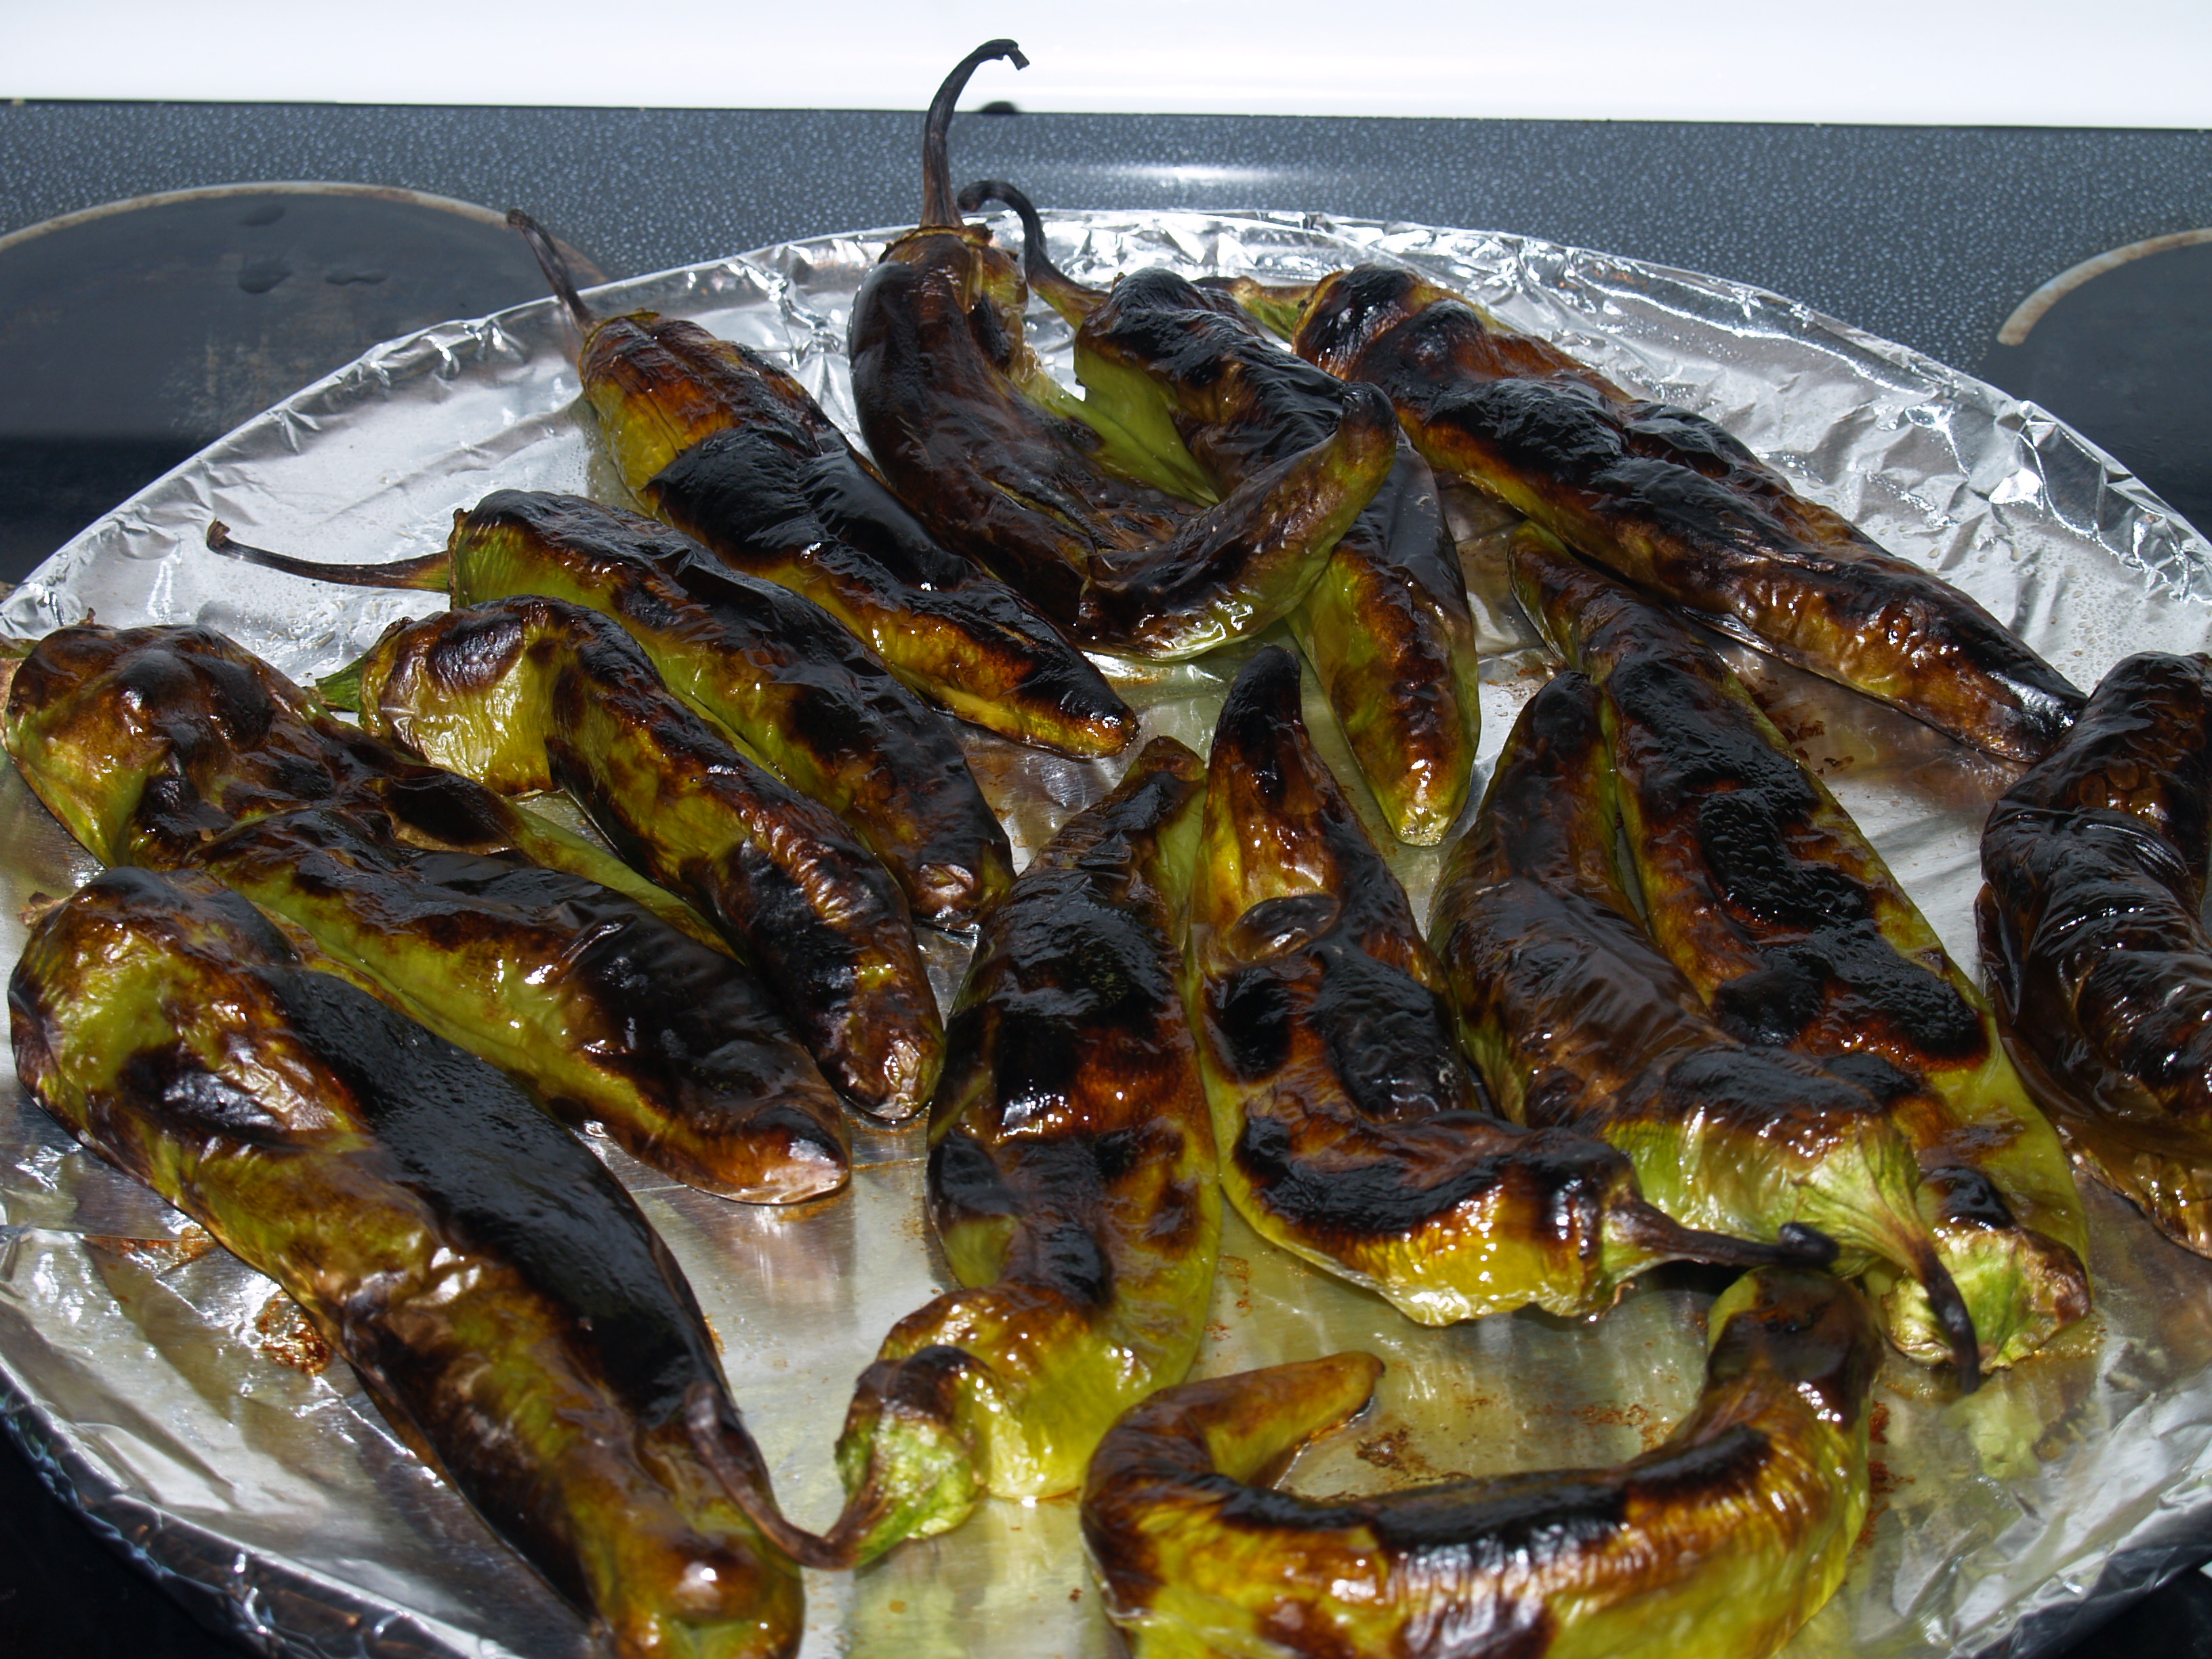
Turn them over for about the same time and then they should look like this:
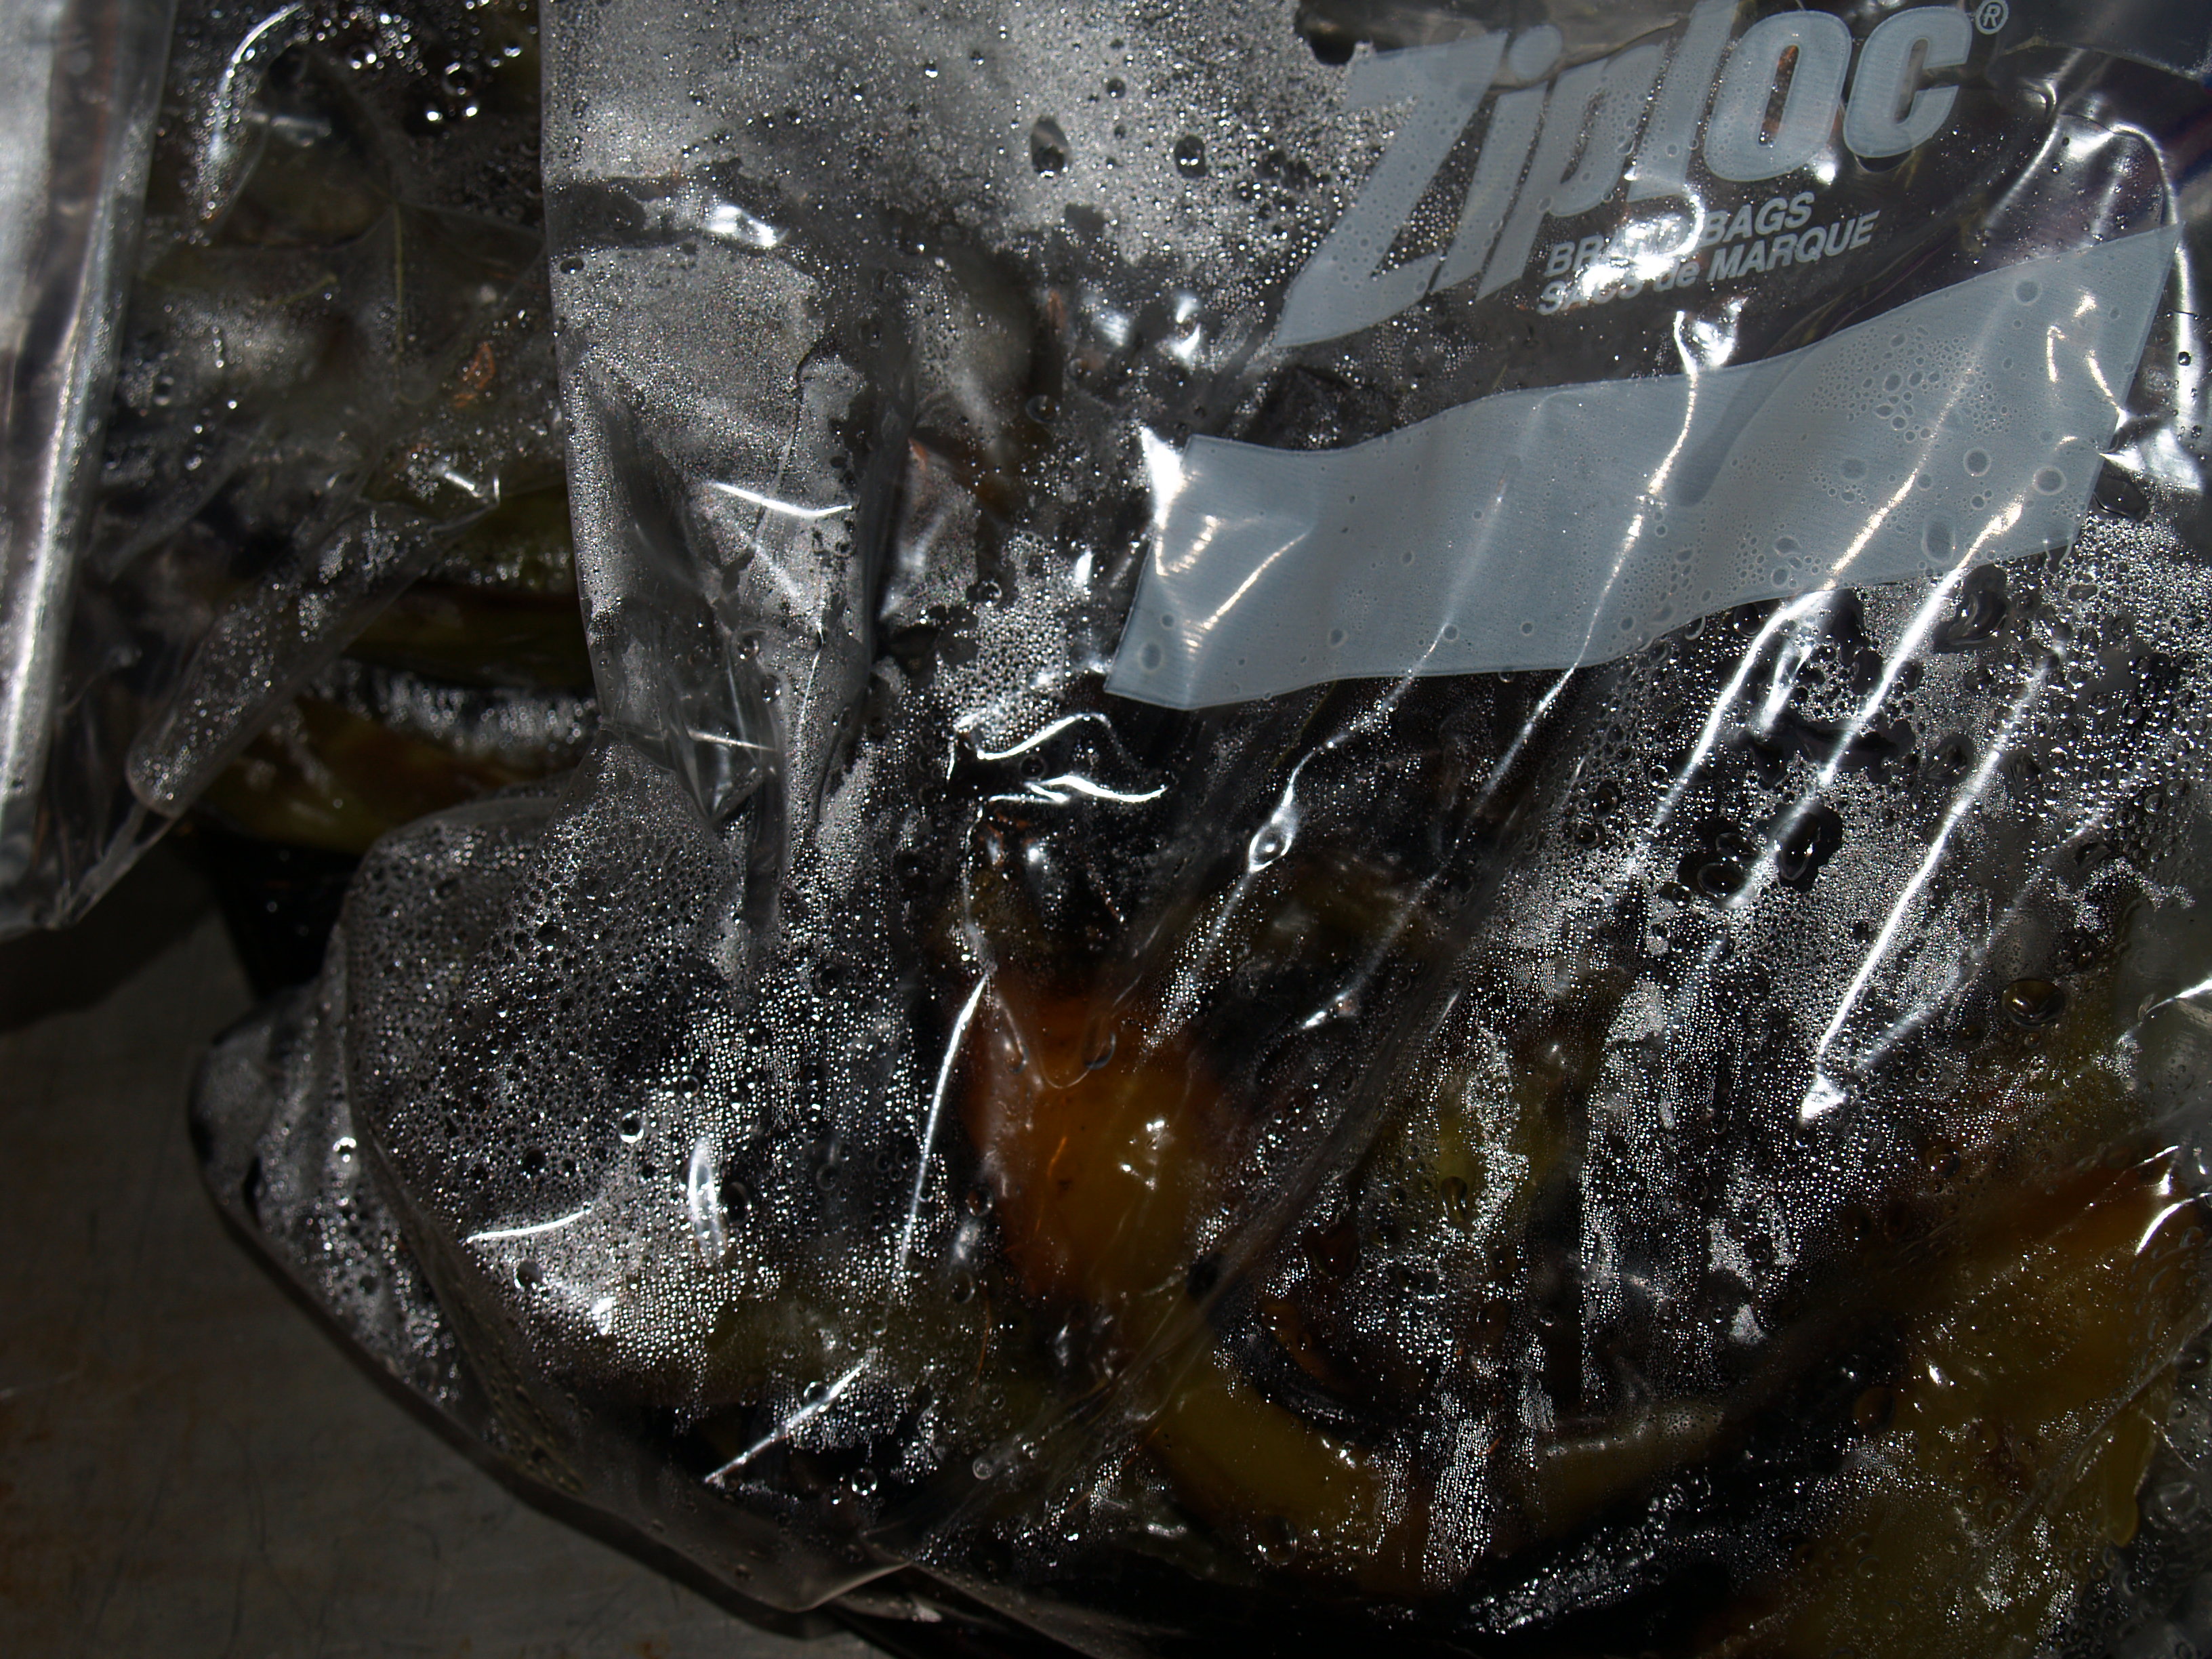
Grab a paper sack or Ziplock bag and, using tongs, put the peppers into the bag and seal it shut for 10 – 20 minutes.
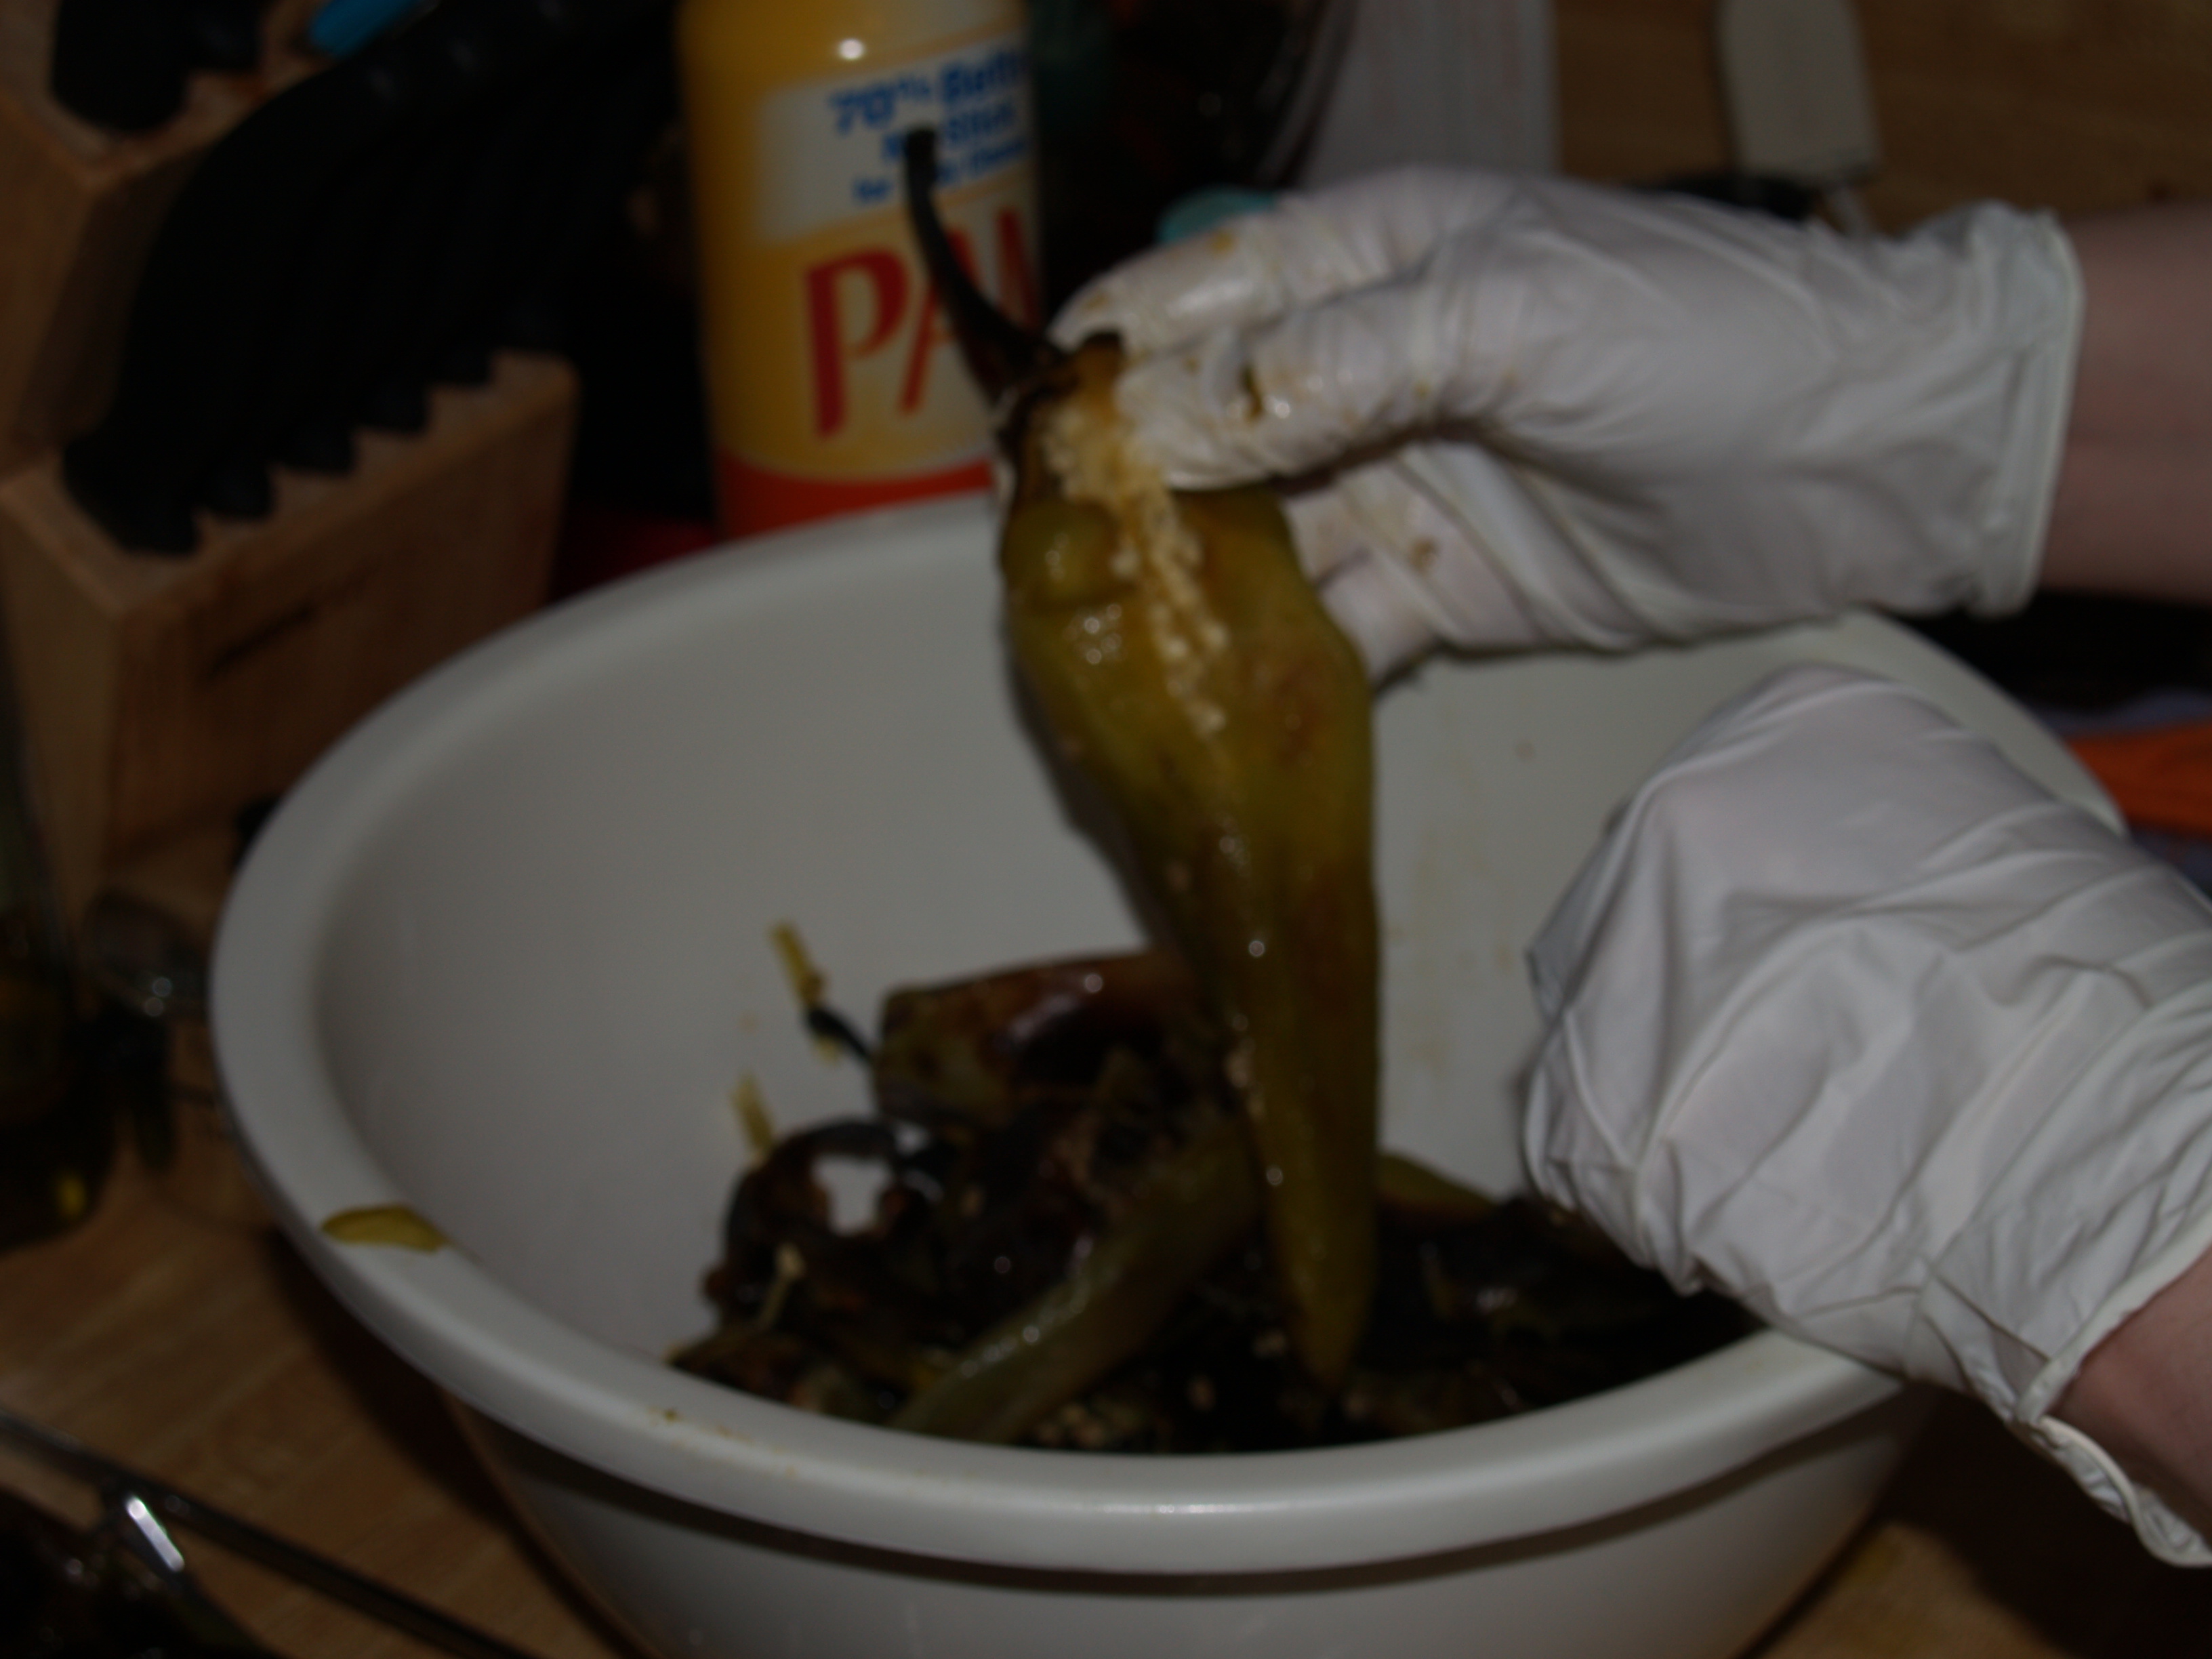
Afterwards, still using tongs, pull them out and place one on a cutting board. You MUST use gloves or you will be more sorry than you can imagine! Starting with one of the more burned areas, start peeling the skin off the pepper leaving the tender green part, like this:
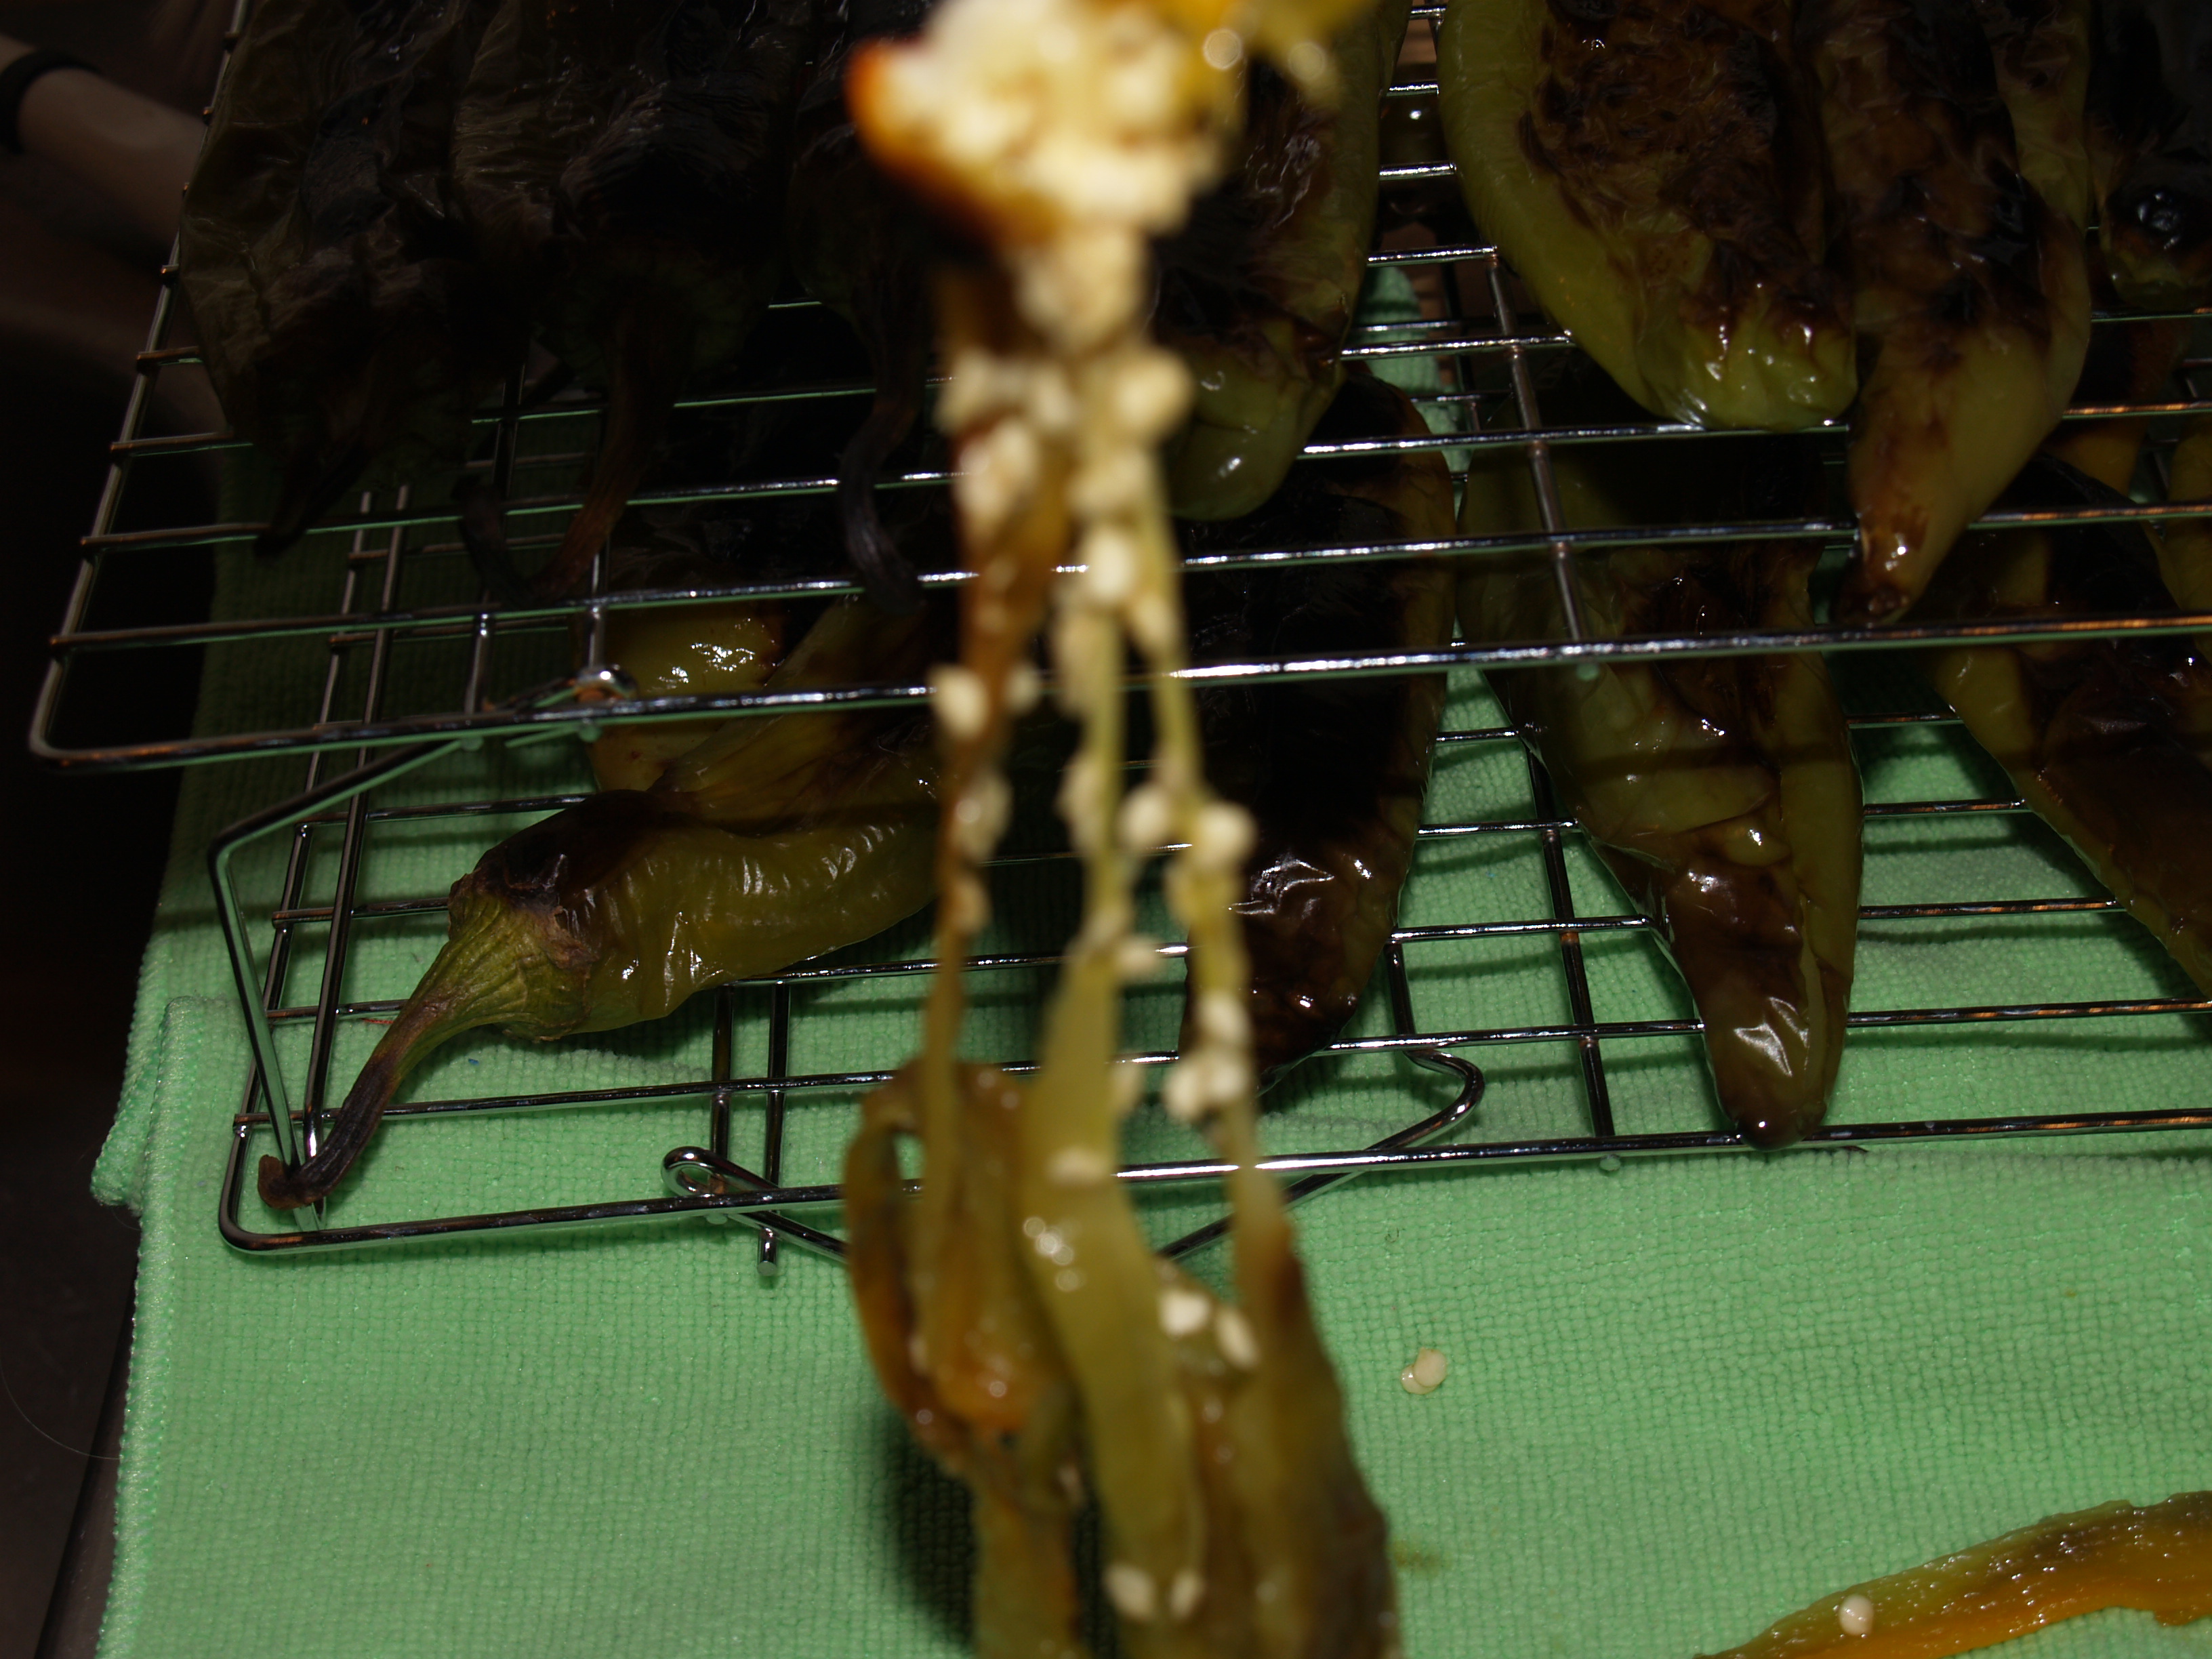
After peeling, if it isn’t already torn, slice it down the middle and lay it open. Many times, you can take the stem, where most of the seeds are and gently pull it towards you bringing most seeds and the 3 veins (where the seeds seem to grow) out of the pepper. Like this:
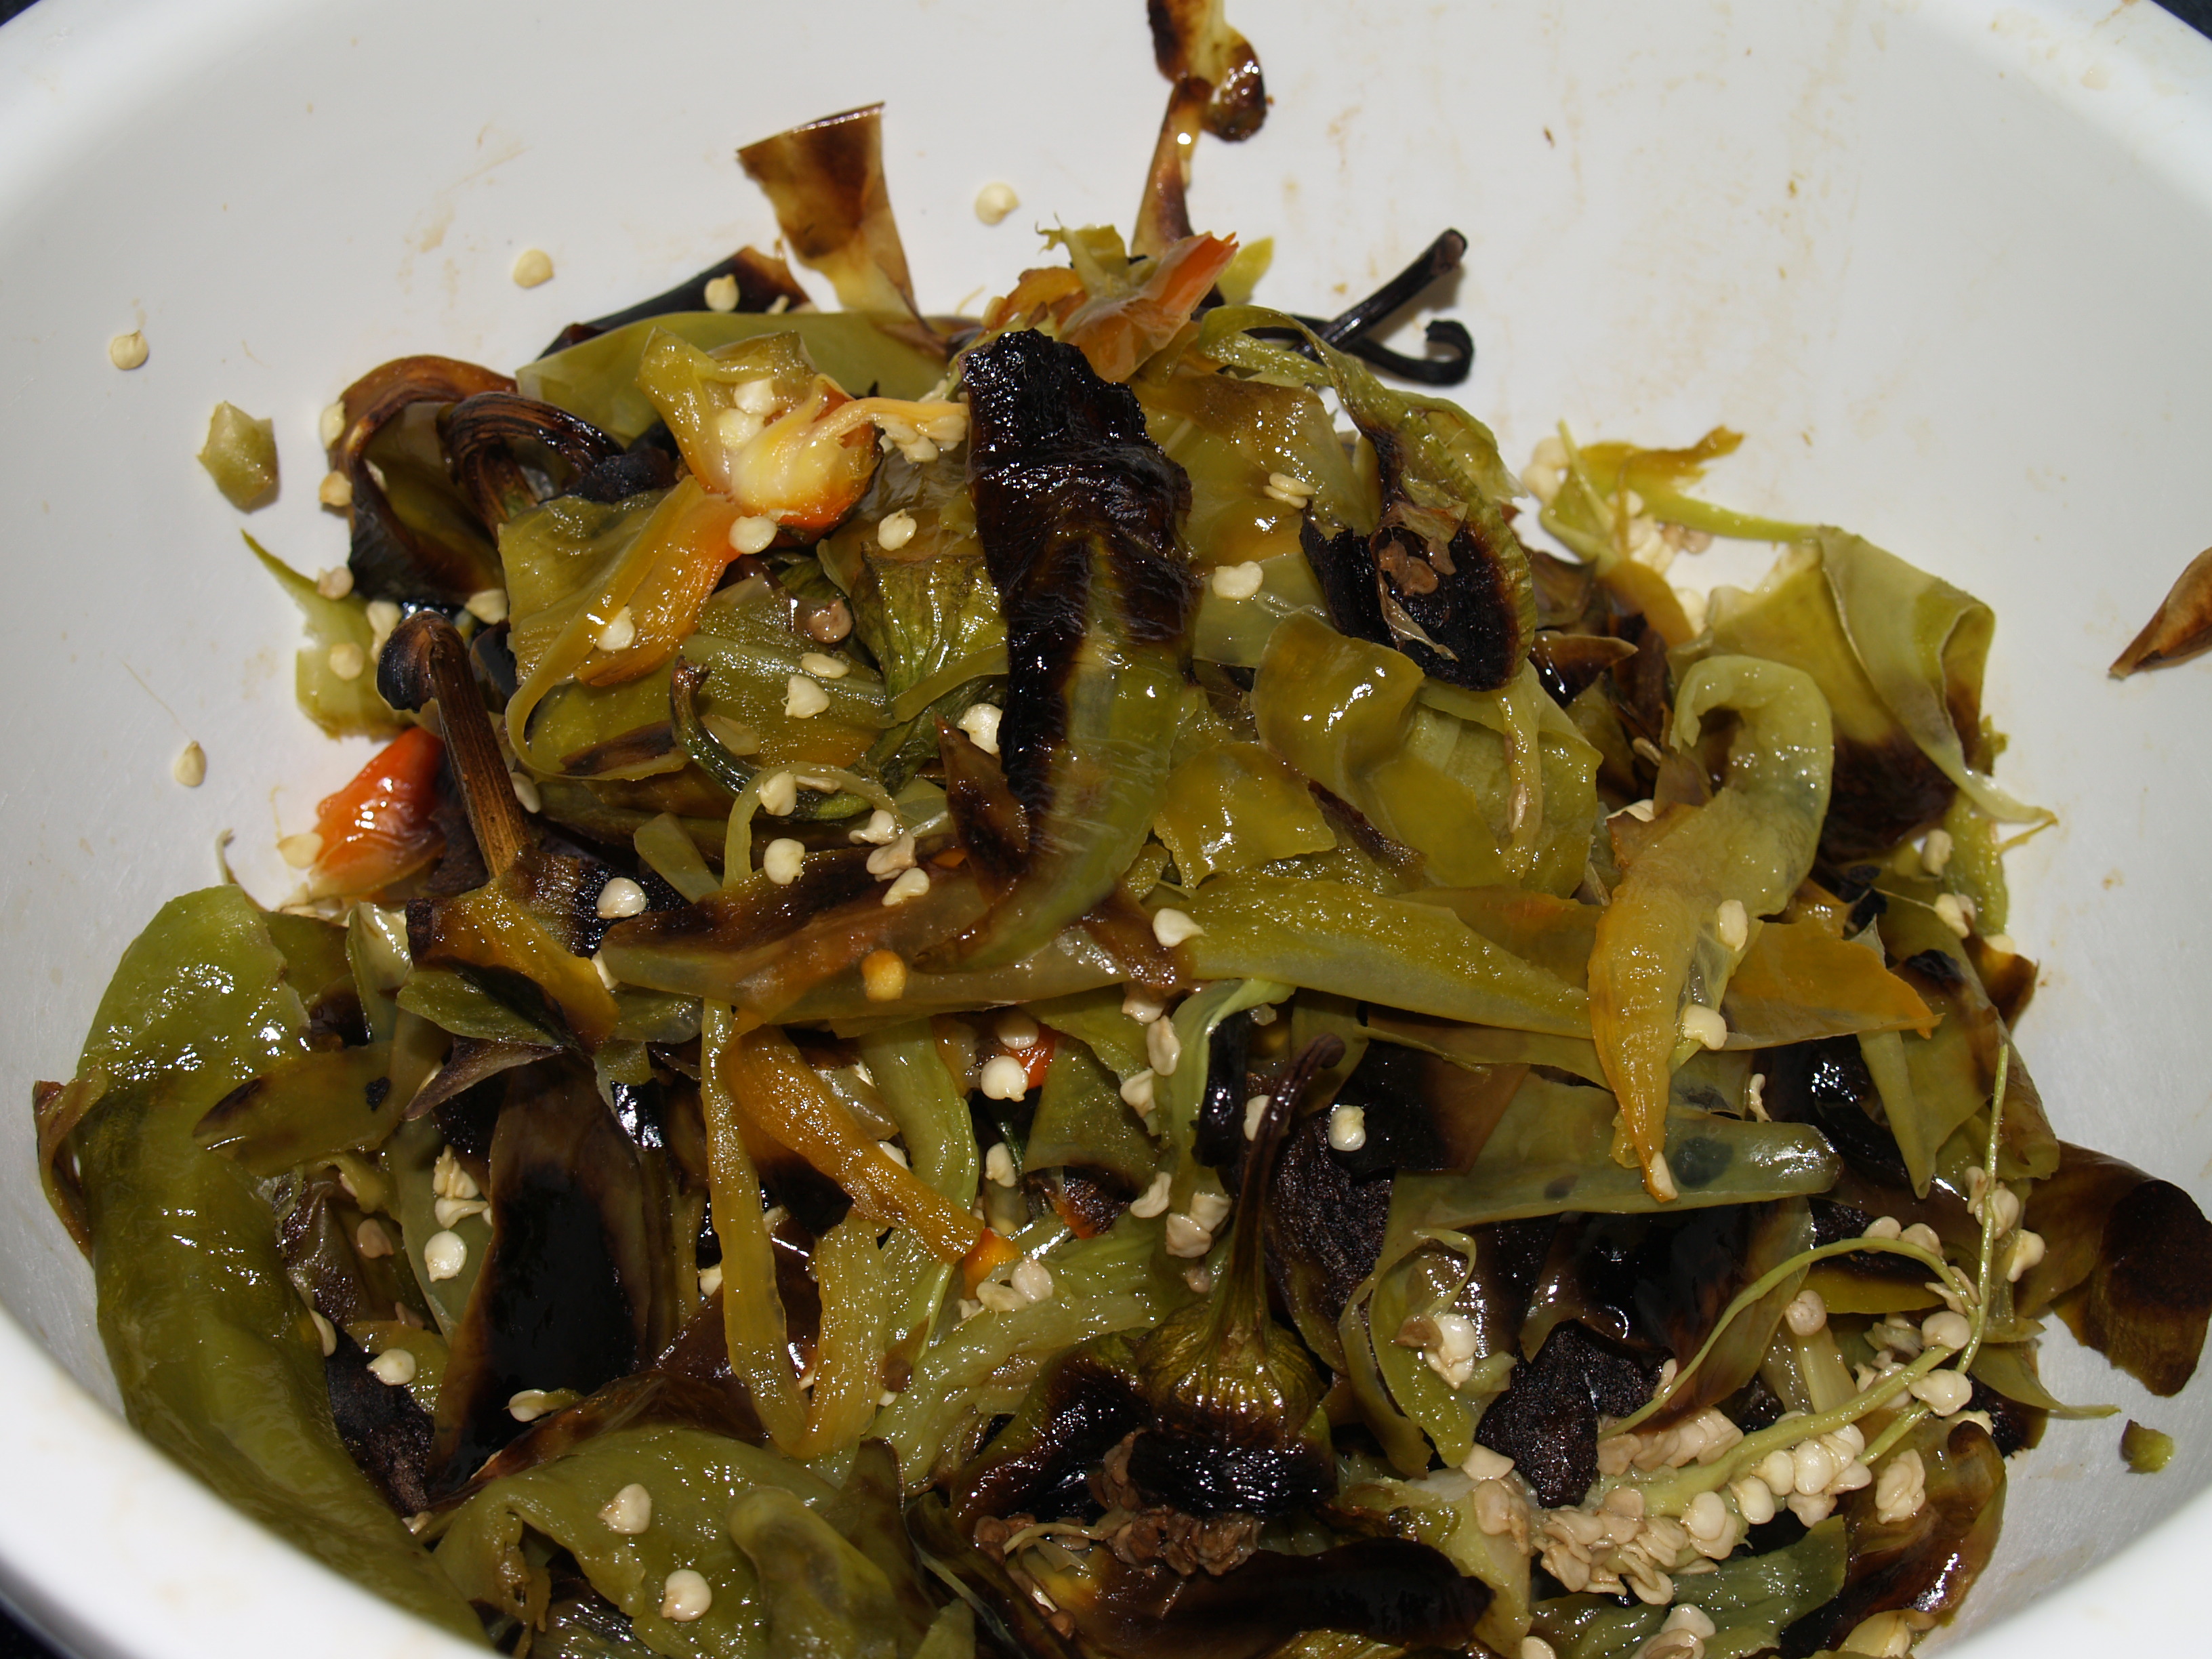
You especially want to do this if you are sensitive to the heat. Then just scrape the rest of the seeds out with the back of a knife until it is as clean as you want. Put all the waste in a bowl:
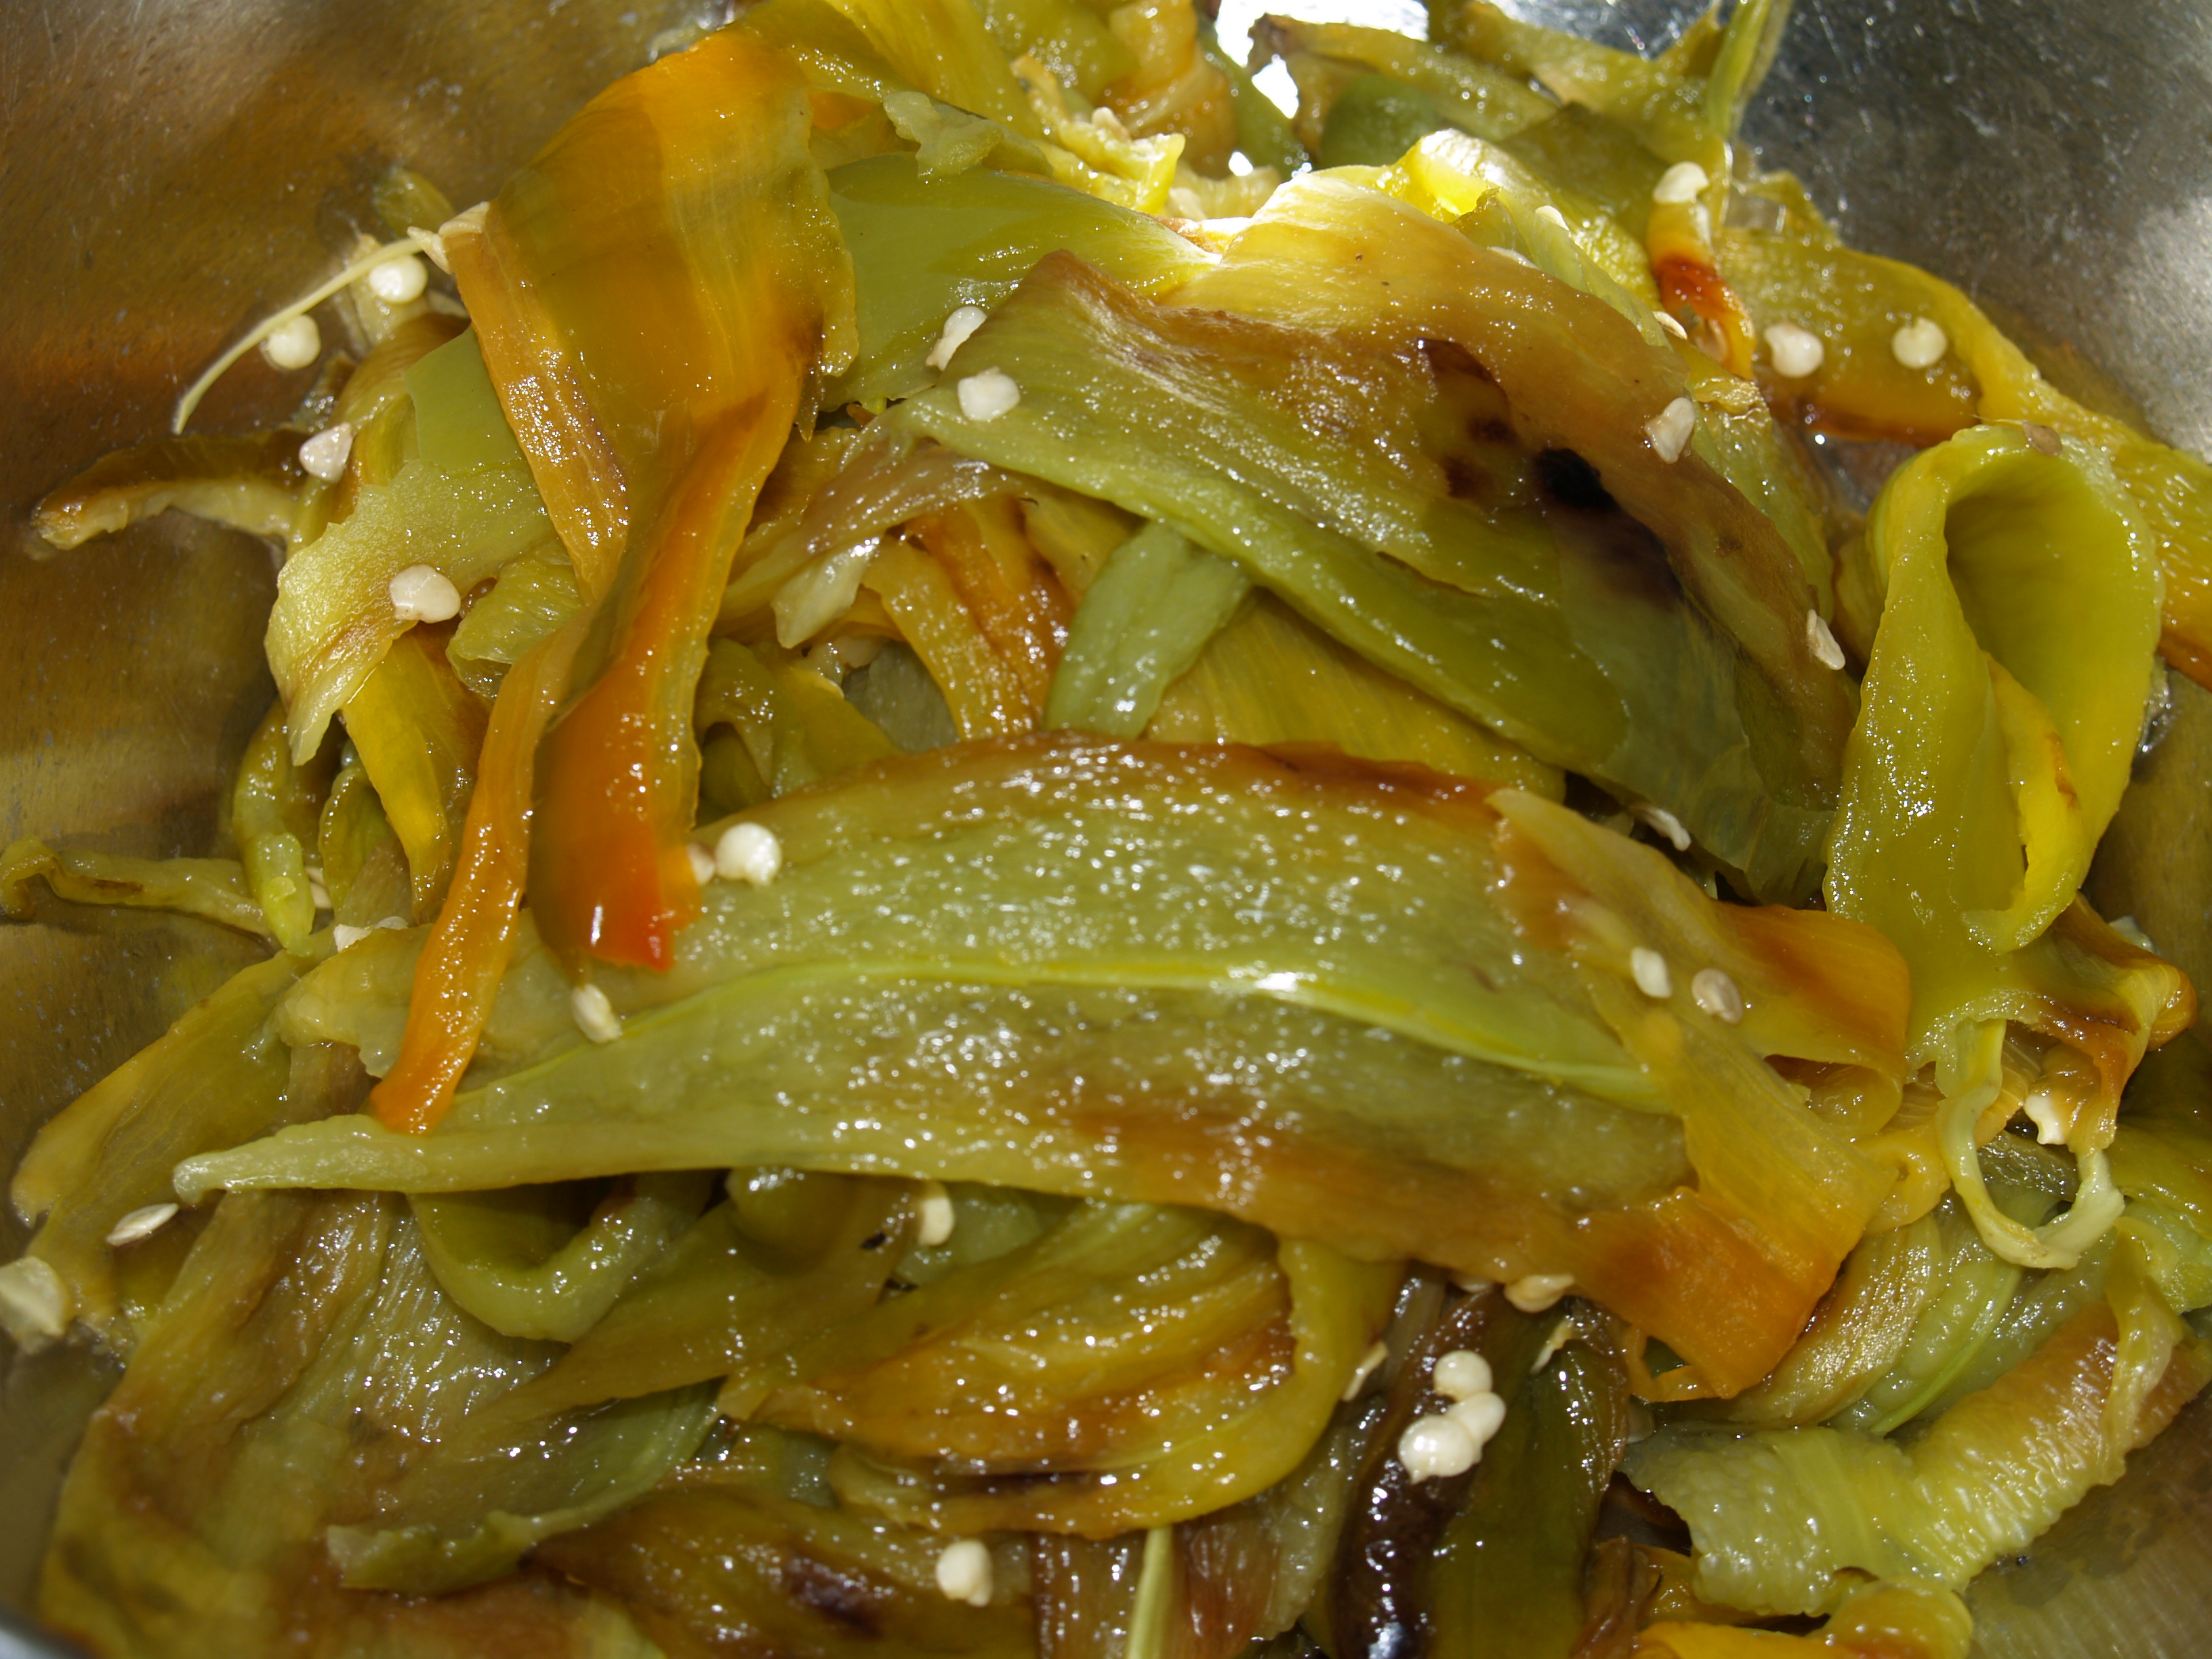
Then throw the pepper in a bowl like this:
And start on another pepper! Enjoy!

Being Indian, I only ever see chili being tossed into curry to flavour and discarded when someone scoops it onto their plate with the curry – your roasted chili looks like a great way to enjoy its full flavour 🙂
Cheers
Choc Chip Uru
Thank you! But Curry is one of the wonders of the world! 🙂 in fact, after thinking about it my daughter and I will be going to eat Indian food tonight! 🙂
This is perfect – I too, have only electric – and have failed so many times to get it right – but here I have hope!!! Thank you! This is just exactly what i needed!
🙂
Great! If you have any questions, please just ask! Thank you for dropping by and come again anytime!
Great how-to! I did this today. I wanted to save the seeds so I split them, removing stem and seeds. I opened them up and pressed them flat on the foil-covered sheet pan, cutting time in half. It took exactly 10 minutes. Just wish I’d put rubber gloves on! Lol
What a great idea! Next time I’m going to do that because I bet it was less messy too. Yes, you should have put on gloves…..your poor hands! Thank you for dropping by and please come again!