
You can find everything you need to build this smoker at just about any discount store in the country. As I purchased the items to make this one, I kept a tally and find that currently, it costs about $12 and all items may be recycled once you are finished.
You will need the following things:

2 aluminum roasters – like you cook a turkey or ham in during the holidays. Make sure the roasters, will fit in your oven.
2 aluminum vegetable trays – you can find these beside the aluminum roasters. They have perforated bottoms.
8 empty and cleaned tuna or cat food cans with labels removed. I run mine through the dishwasher.
Paper towels.
Aluminum foil.
Wood chips for smoking.
Tap water.
Directions:
1. Place one of the roasters on a sturdy baking sheet on the counter.

2. Tear off 10 paper towels. Using half, fold over until they are only about 5 inches wide – length should remain normal size – and wet both folds of paper towels liberally, really soak them. Then place one set of paper towels at each end (short side) of the roaster.

3. Put 4 of the empty tuna cans upside down (opened end of can should be facing down) on top of wet paper towels.

4. Take some heavy duty aluminum foil and make a “bowl” that will fit in between the tuna cans.
5. Inside the “bowl”, put the water-soaked wood chips that have soaked in water for at least an hour and then add some more water.

6. Set one of the aluminum vegetable trays on top of the 4 tuna cans in the roaster.

7. Place the final 4 empty tuna cans upside down in the corners of the aluminum vegetable tray.

8. After spraying with non-stick cooking spray, set the second aluminum vegetable tray on top of those tuna cans and in that pan, you can put whatever you want (I’m going to show you how to smoke ribs in this one).
9. Prepare the food items and place in tray.

10. Fit the second veggie roaster on top of the entire thing making a “dome” shape. You may have to clip the ends to make it fit over large food items. Then place the big roaster over making a bigger dome shape.

11. Crimp heavy duty foil around the fit-together edges of both large roasters to prevent as little smoke as possible from escaping.

12. Set the cookie sheet with the roaster on two burners on the stove top and set the flame or coils to medium high. Allow to heat up for 30 minutes. You should begin smelling a tiny bit of escaping smoke in about 10 minutes.

13. In the meantime, open the oven and put one of the racks on the very bottom rung, taking the other one out completely. Set the oven on 375 F (190 C).
14. After 30 minutes, turn the stove-top off and put entire smoker, including cookie sheet, into the oven.

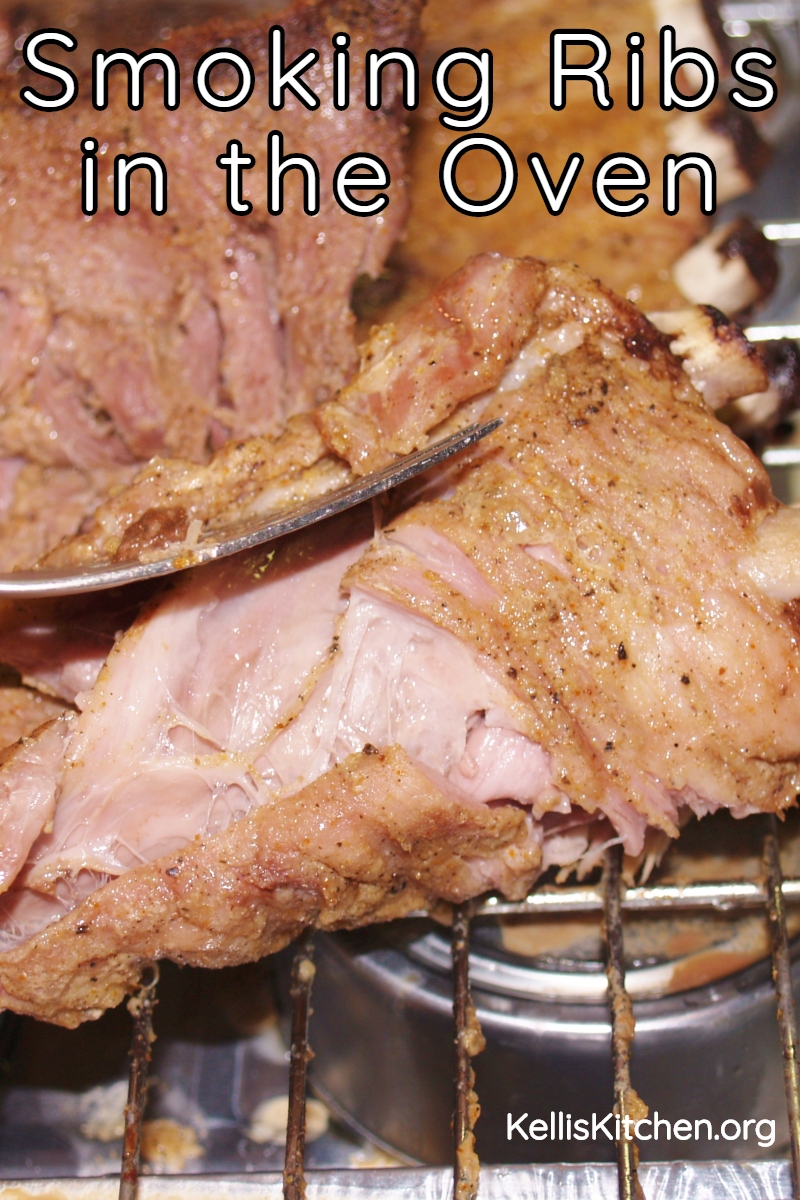
15. As in the case of the ribs you will want to smoke them in the oven for about 3 and ½ hours, checking the ribs and adding water every hour or so.
16. After the allotted time, pull the cookie sheet and roaster out of oven; remove the aluminum foil from around the middle edge of the roaster.
17. If the item is meat, allow to sit covered for 30 minutes, then remove and allow smoker to cool.

18. If the item is not meat, remove the item tray and allow smoker to cool.

19. Once cooled, you can recycle the aluminum and paper by separating and placing in the recycle bin, or bag it up and throw it all away.

You will need these things for the Rib Rub I used.

Spare Rib Rub Recipe
2.5 Tbl. Brown Sugar
½ teas. Cumin
½ teas. Dry mustard
½ teas. Garlic powder
½ teas. Salt
½ teas. Black pepper
1 Tbl. Tony’s creole/Cajun seasoning
Put in a shaker and rub all over the spare ribs. Wrap in saran wrap and marinate for at least 2 hours – preferably overnight.
How to prepare the ribs:
1. Rinse and pat dry the ribs.

2. Peel the membrane off the ribs.

3. Put the rub all over the ribs and allow to marinate for at least 2 hours.

4. Place on smoker rack and allow to cook.
5 Let the ribs rest for at least 30 minutes and serve!

I hope you enjoyed “How to build a smoker” and Rib post –

What a phenomenal tutorial! This is what I love about your site, Kelli. 🙂 Practical and economical and described perfectly. Thanks! I am definitely going to try this!
Great! Let me know how you like it – works wonderfully every time!
Great site! Love this idea and so much cheaper than a new smoker. One question though – I do NOT get how this cooks meat in a cold oven. You turn it off? That does not make sense at all….Where is all the heat coming from to cook? Thanks so much.
Thank you! I think you must have misread – it’s a little hard because of all the pictures and instructions, I know….You start out with the smoker all wrapped up and on the baking sheet on the stove-top for about 30 minutes at medium high flame or glass top – while the oven heats up………..then you turn the stove-top off and put the whole shebang in the oven and it will get to smoking right away……..so to be clear, it’s always cooking – it just starts on the stovetop and moves to the oven. If you have any more questions, let me know and please also let me know how you like it!!
13. In the meantime, open the oven and put one of the racks on the very bottom rung, taking the other one out completely. Set the oven on 375 F (190 C).
These look delicious! And . . . we’ve been looking for a really good rib rub. Looks like we’ve found it! Thanks, Kelli. PS – in the first photo, your entire plate looks so enticingly delicious!!
Thank you! I actually made this post to be a part of a new eBook but never had the time to put it together so that plate has recipes throughout the blog!
These ribs look exquisite my friend 😀
Fantastic job!
Cheers
CCU
Thank you!!
love it! My husband loves the idea and he’ll be using your instructions to help set one up. Thanks 🙂
Great! They are wonderful so please let me know what you smoke!
loved how you explained everything Kelli! glad you took time to write this because hubby and I we went to a restaurant Saturday night, he ordered ribs and we didn’t like them, we were surprised that WE didn’t like them! we usually love ribs and told ourselves we should learn how to prepare them! 🙂 Hope you will have a great week! 🙂
Yay! I know you will like this and enjoy it. Please let me know how it comes out!
You took this step by step. Great post and your ribs look delicious!
Thank you!!
I’m pretty sure you need to change the name of your blog. Doesn’t look like you’re Domestically Impaired anymore. These look absolutely delicious. Thanks for the step by step instructions, maybe even I could tackle this.
Have a wonderful week!
Beth
Hey thanks!! I take that as a huge compliment!
Thanks so much for the tutorial!! These ribs looks awesome! 🙂
Kenley
Thank you! I hope you enjoy making one if you do get to!
AWESOME!! We no longer have a smoker and I’ve been craving ribs and brisket. This will be perfect for doing it in the oven, fwded to hubby! Thanks Kelli
I’m so glad Karly! I think it’s a great idea – I’m now going to start posting a bunch of different things besides meat that you can smoke too!
Oh wow. That’s really easy! I’m going to do this as soon as I figure out what I want to smoke 😉 Thanks for sharing 😀
You are welcome – stay tuned I’ve got several smoking posts that are all non-meats!
Oh, yay. I’m excited. I have some really nice porkchops in the freezer that I bet would be delicious smoked 😉
They sure would!
How great! Perfect for smoking. I can’t wait to try this on some short ribs some time 🙂
I know you will like it!!
I like it. It reminds me of my girl scout days. Great instructions! Thanks for sharing at What’d You Do This Weekend. Best wishes for tasty dishes this week.
Thank you so much for the lovely invitation! I look forward to more
Hi Kelli, today I’m collecting barbecue and grilling recipes Please drop me a line on ca4ole@gmail.com if you are ok with me linking to your post in my blog (Carole’s Chatter). Cheers
I have not had breakfast yet and now I want your ribs lol….well maybe for dinner, huh ? 🙂
It’s very easy to to and I think you’ll love ’em! Thanks for dropping by and please come again!
Morning Kelli:
These look delicious! I love smoked food.
Just a hint ….. if you wash or rinse your things well before putting them into the recycle bin, they won’t attract animals.
I live in a city, but we still get animals scavenging. Also keeps the dumps more eco friendly and pest free. We all do our small part.
Have a Joyful Day :~D
Charlie
Thanks Charlie! Great tip – since I wrote that, I have learned and every little bit helps – doesn’t it?? I’m so pleased you dropped by – please come again!
I don’t know what I did wrong but my pan caught on fire I blew it out left a hole in my cookie sheet and burned aluminum all over my burner
I don’t know either – no one else has ever reported that happening. Was there grease on the cookie sheet? Or maybe you didn’t soak the wood chips long enough. I honestly don’t know — so many folks have had such great success with it.