

Homemade Crescent Rolls/ Kelli’s Kitchen
We love canned crescent rolls and try to have them every Sunday night for dinner. I suppose that somewhere in my head, I must have known they could be made by real people and not machines but unroll – whamp! – roll – bake was SO EASY!! Then I started reading the blog Let This Mind Be in You and she recently had a crescent roll recipe that caught my eye. I pinned it and this afternoon, I made them myself. Here goes:
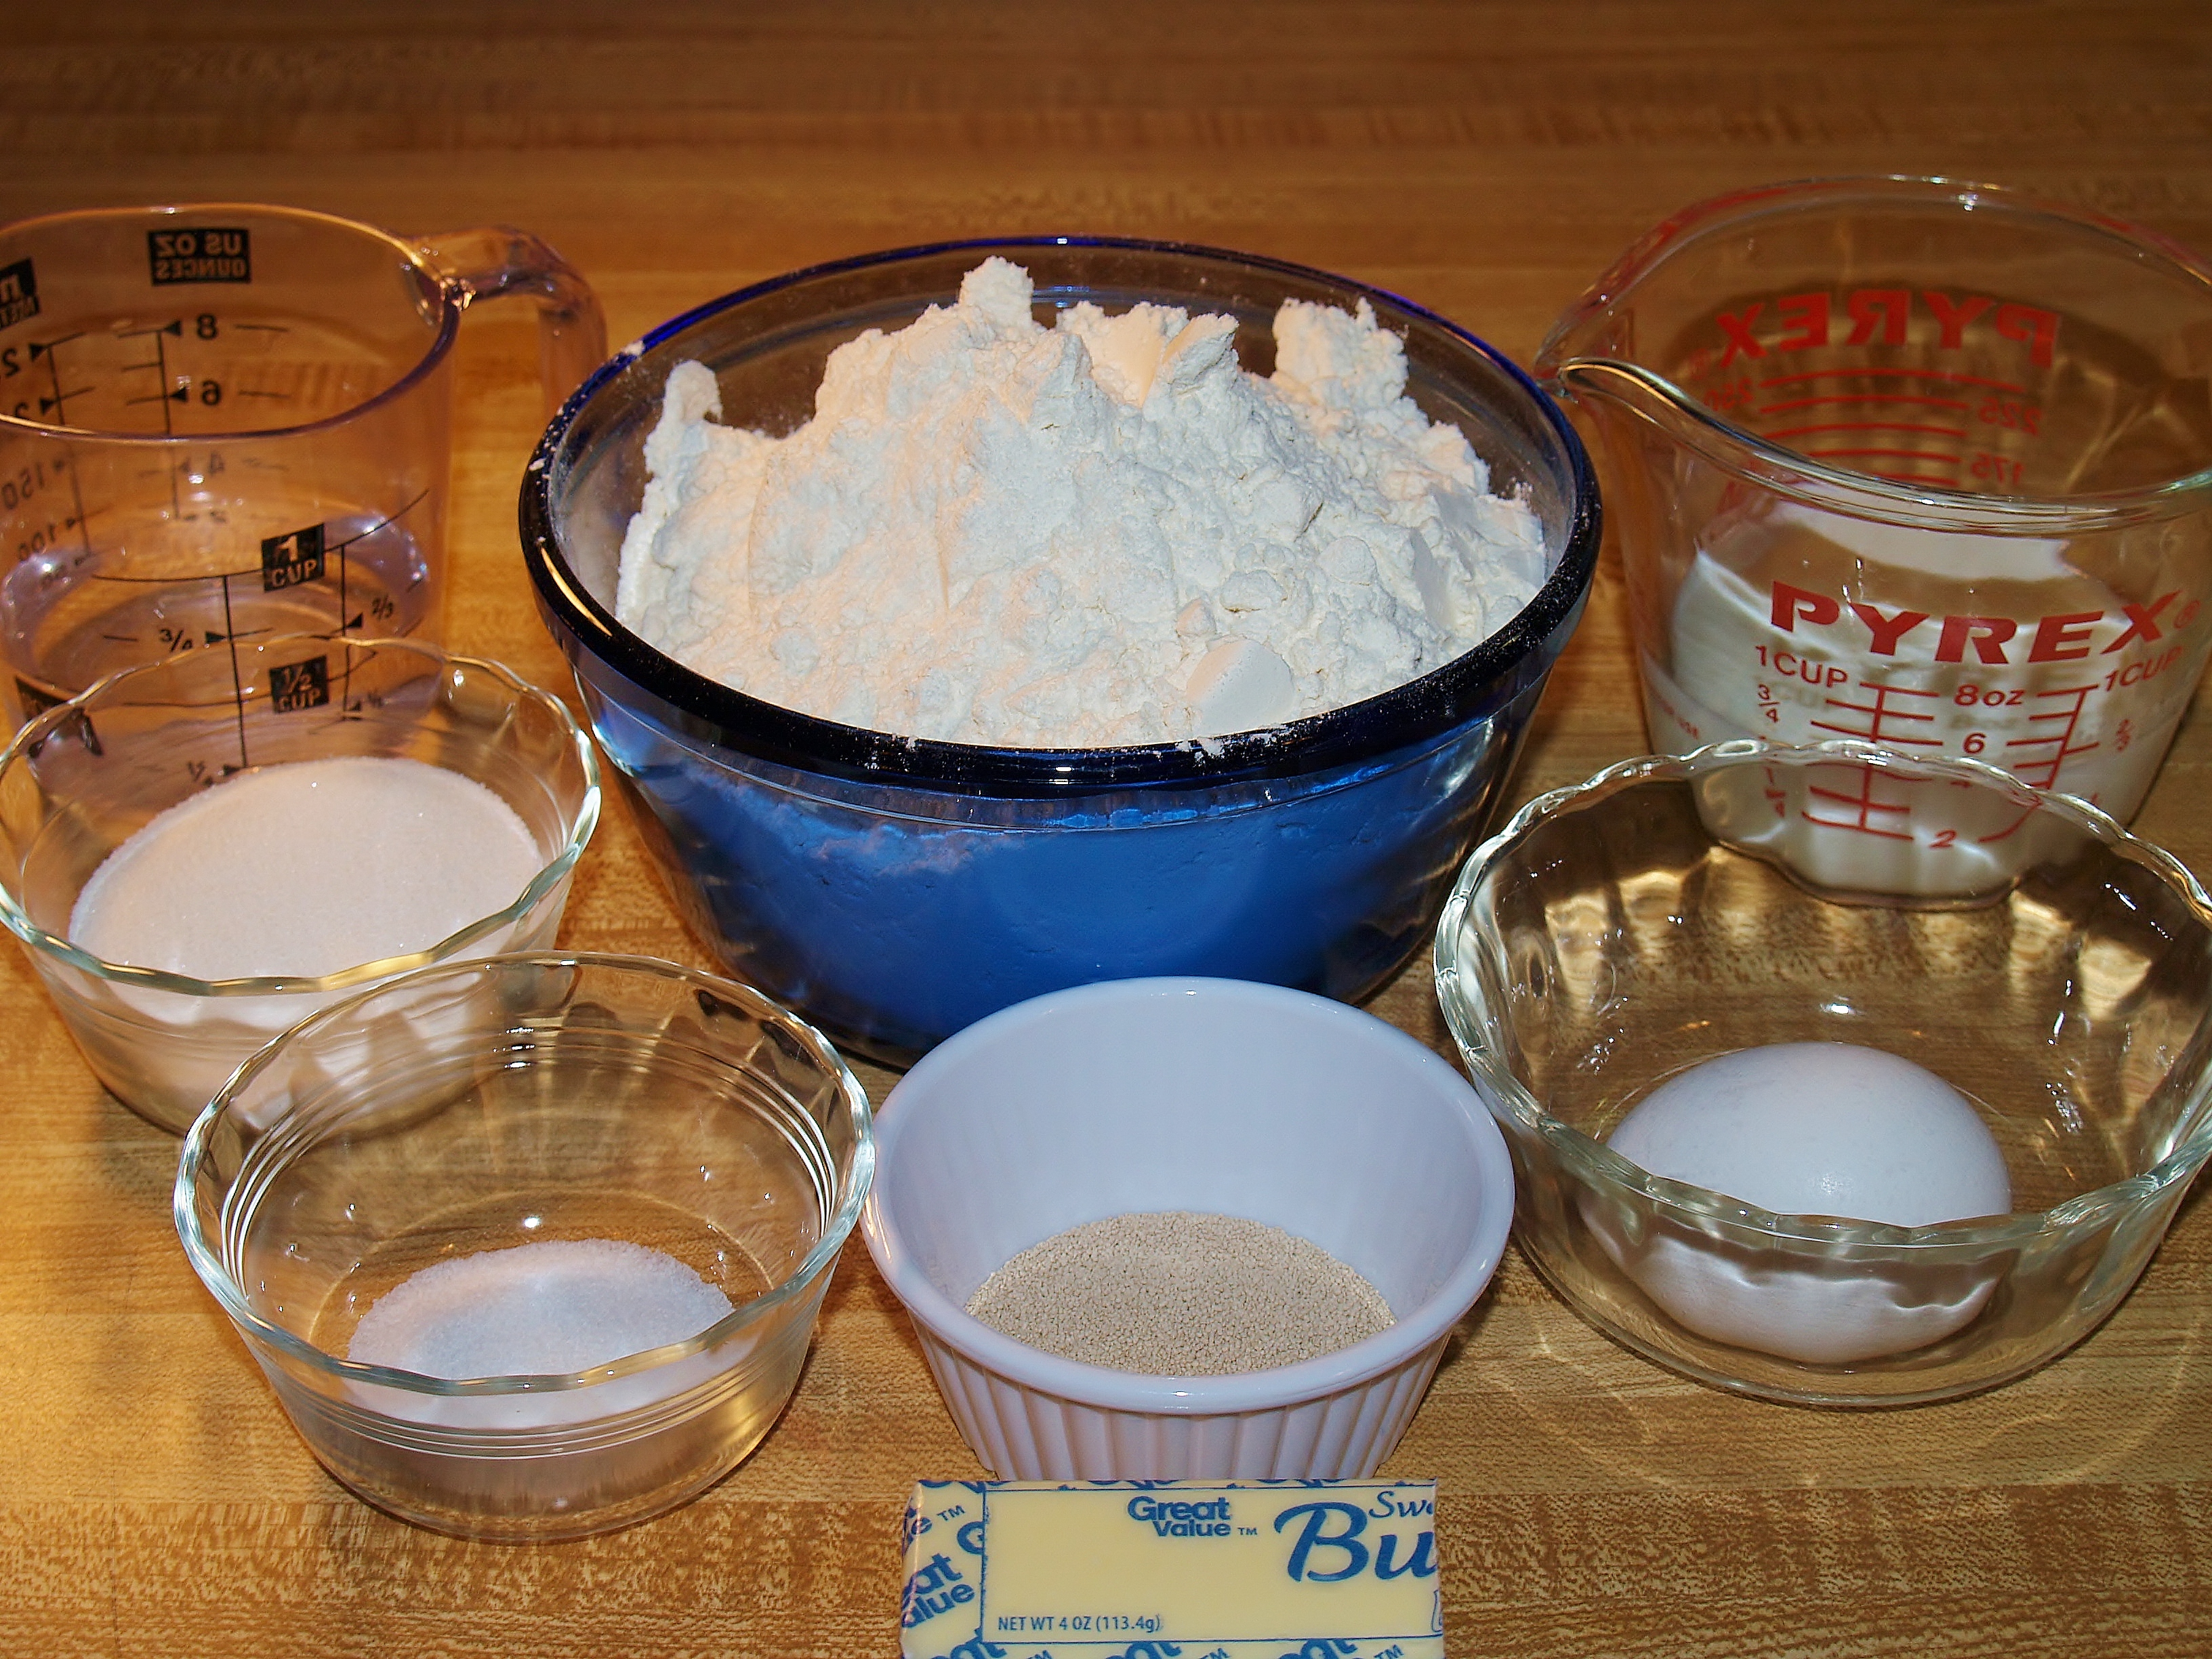
First, I put each ingredient into separate bowls so I wouldn’t get flustered trying to find one.
Easy Homemade Crescent Rolls
Homemade Crescent Rolls/ Kelli’s Kitchen
½ cup warm water
½ cup warm milk
1 package yeast (2 ¼ teaspoons)
1/3 cup sugar
1/3 cup butter softened
1 egg
1 teaspoon salt
3 and ¾ cups flour (I used bread flour)
¼ cup butter melted
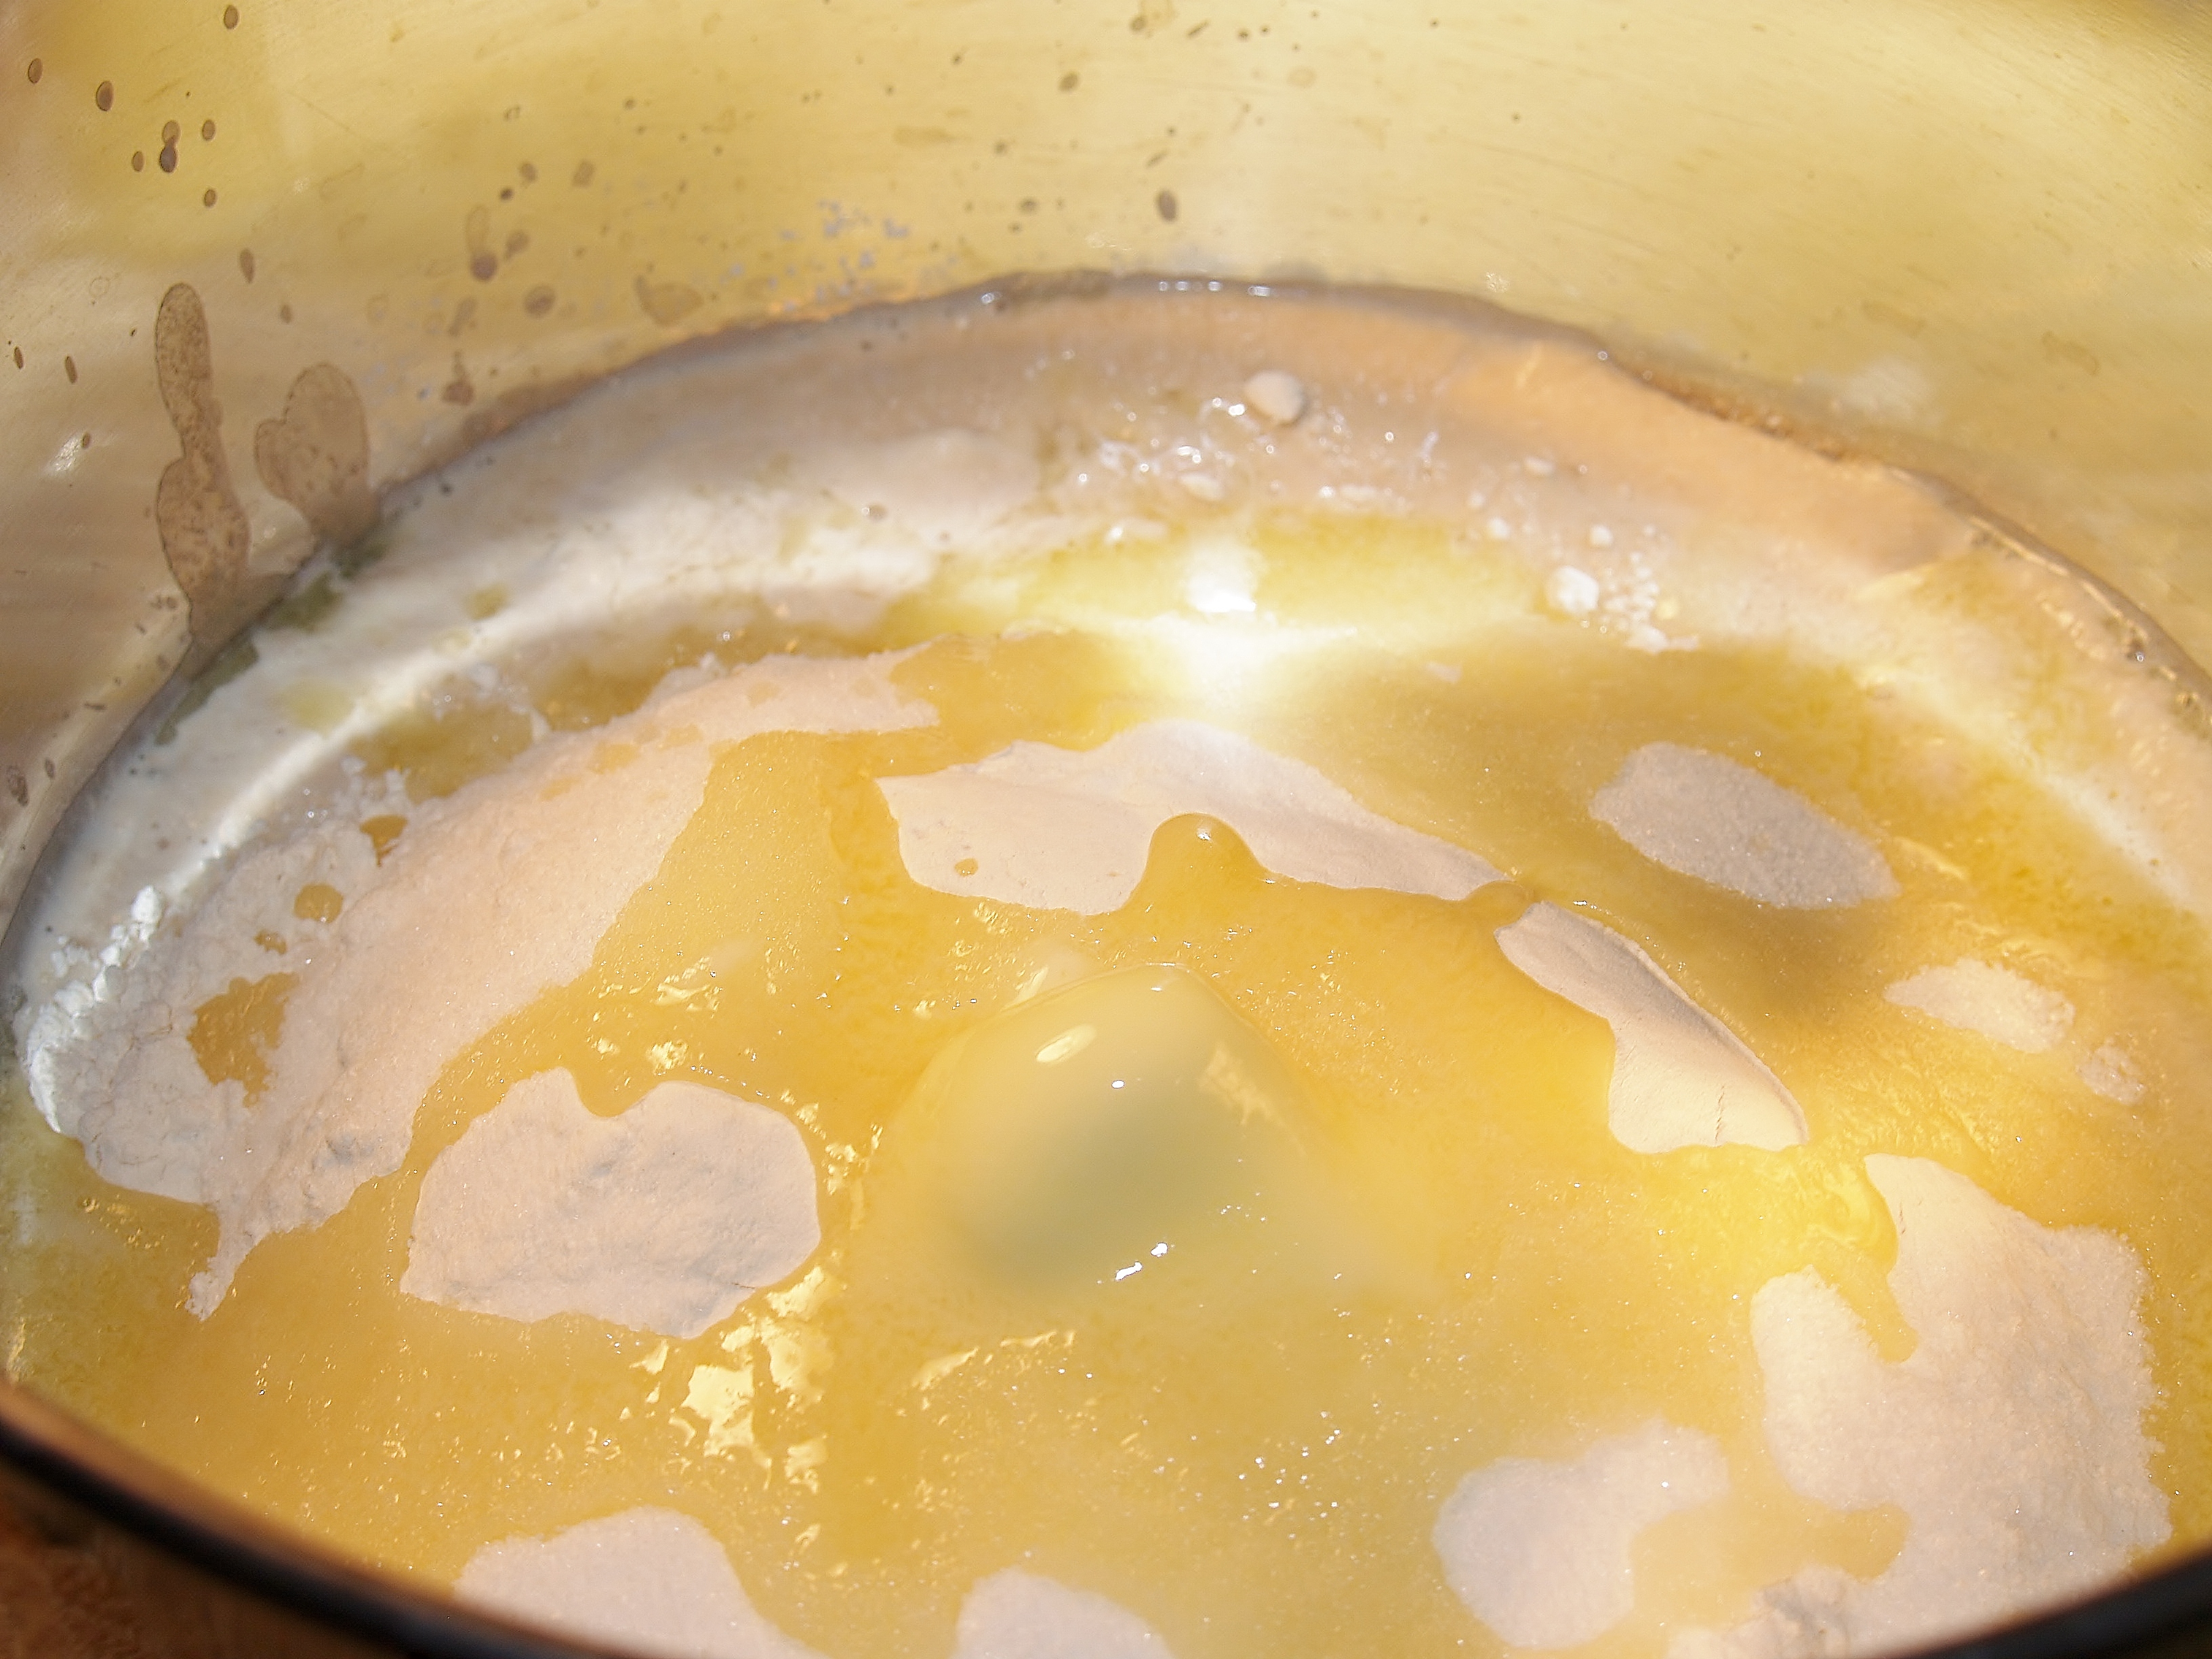
I used a stand mixer so I put the water, milk, yeast and 2 tablespoons of the 1/3 cup sugar in the mixing bowl and let stand for 5 minutes. I put the dough hook on at that time.
After 5 minutes, I put all the rest of the ingredients in (minus the melted ¼ cup butter).
Homemade Crescent Rolls/ Kelli’s Kitchen
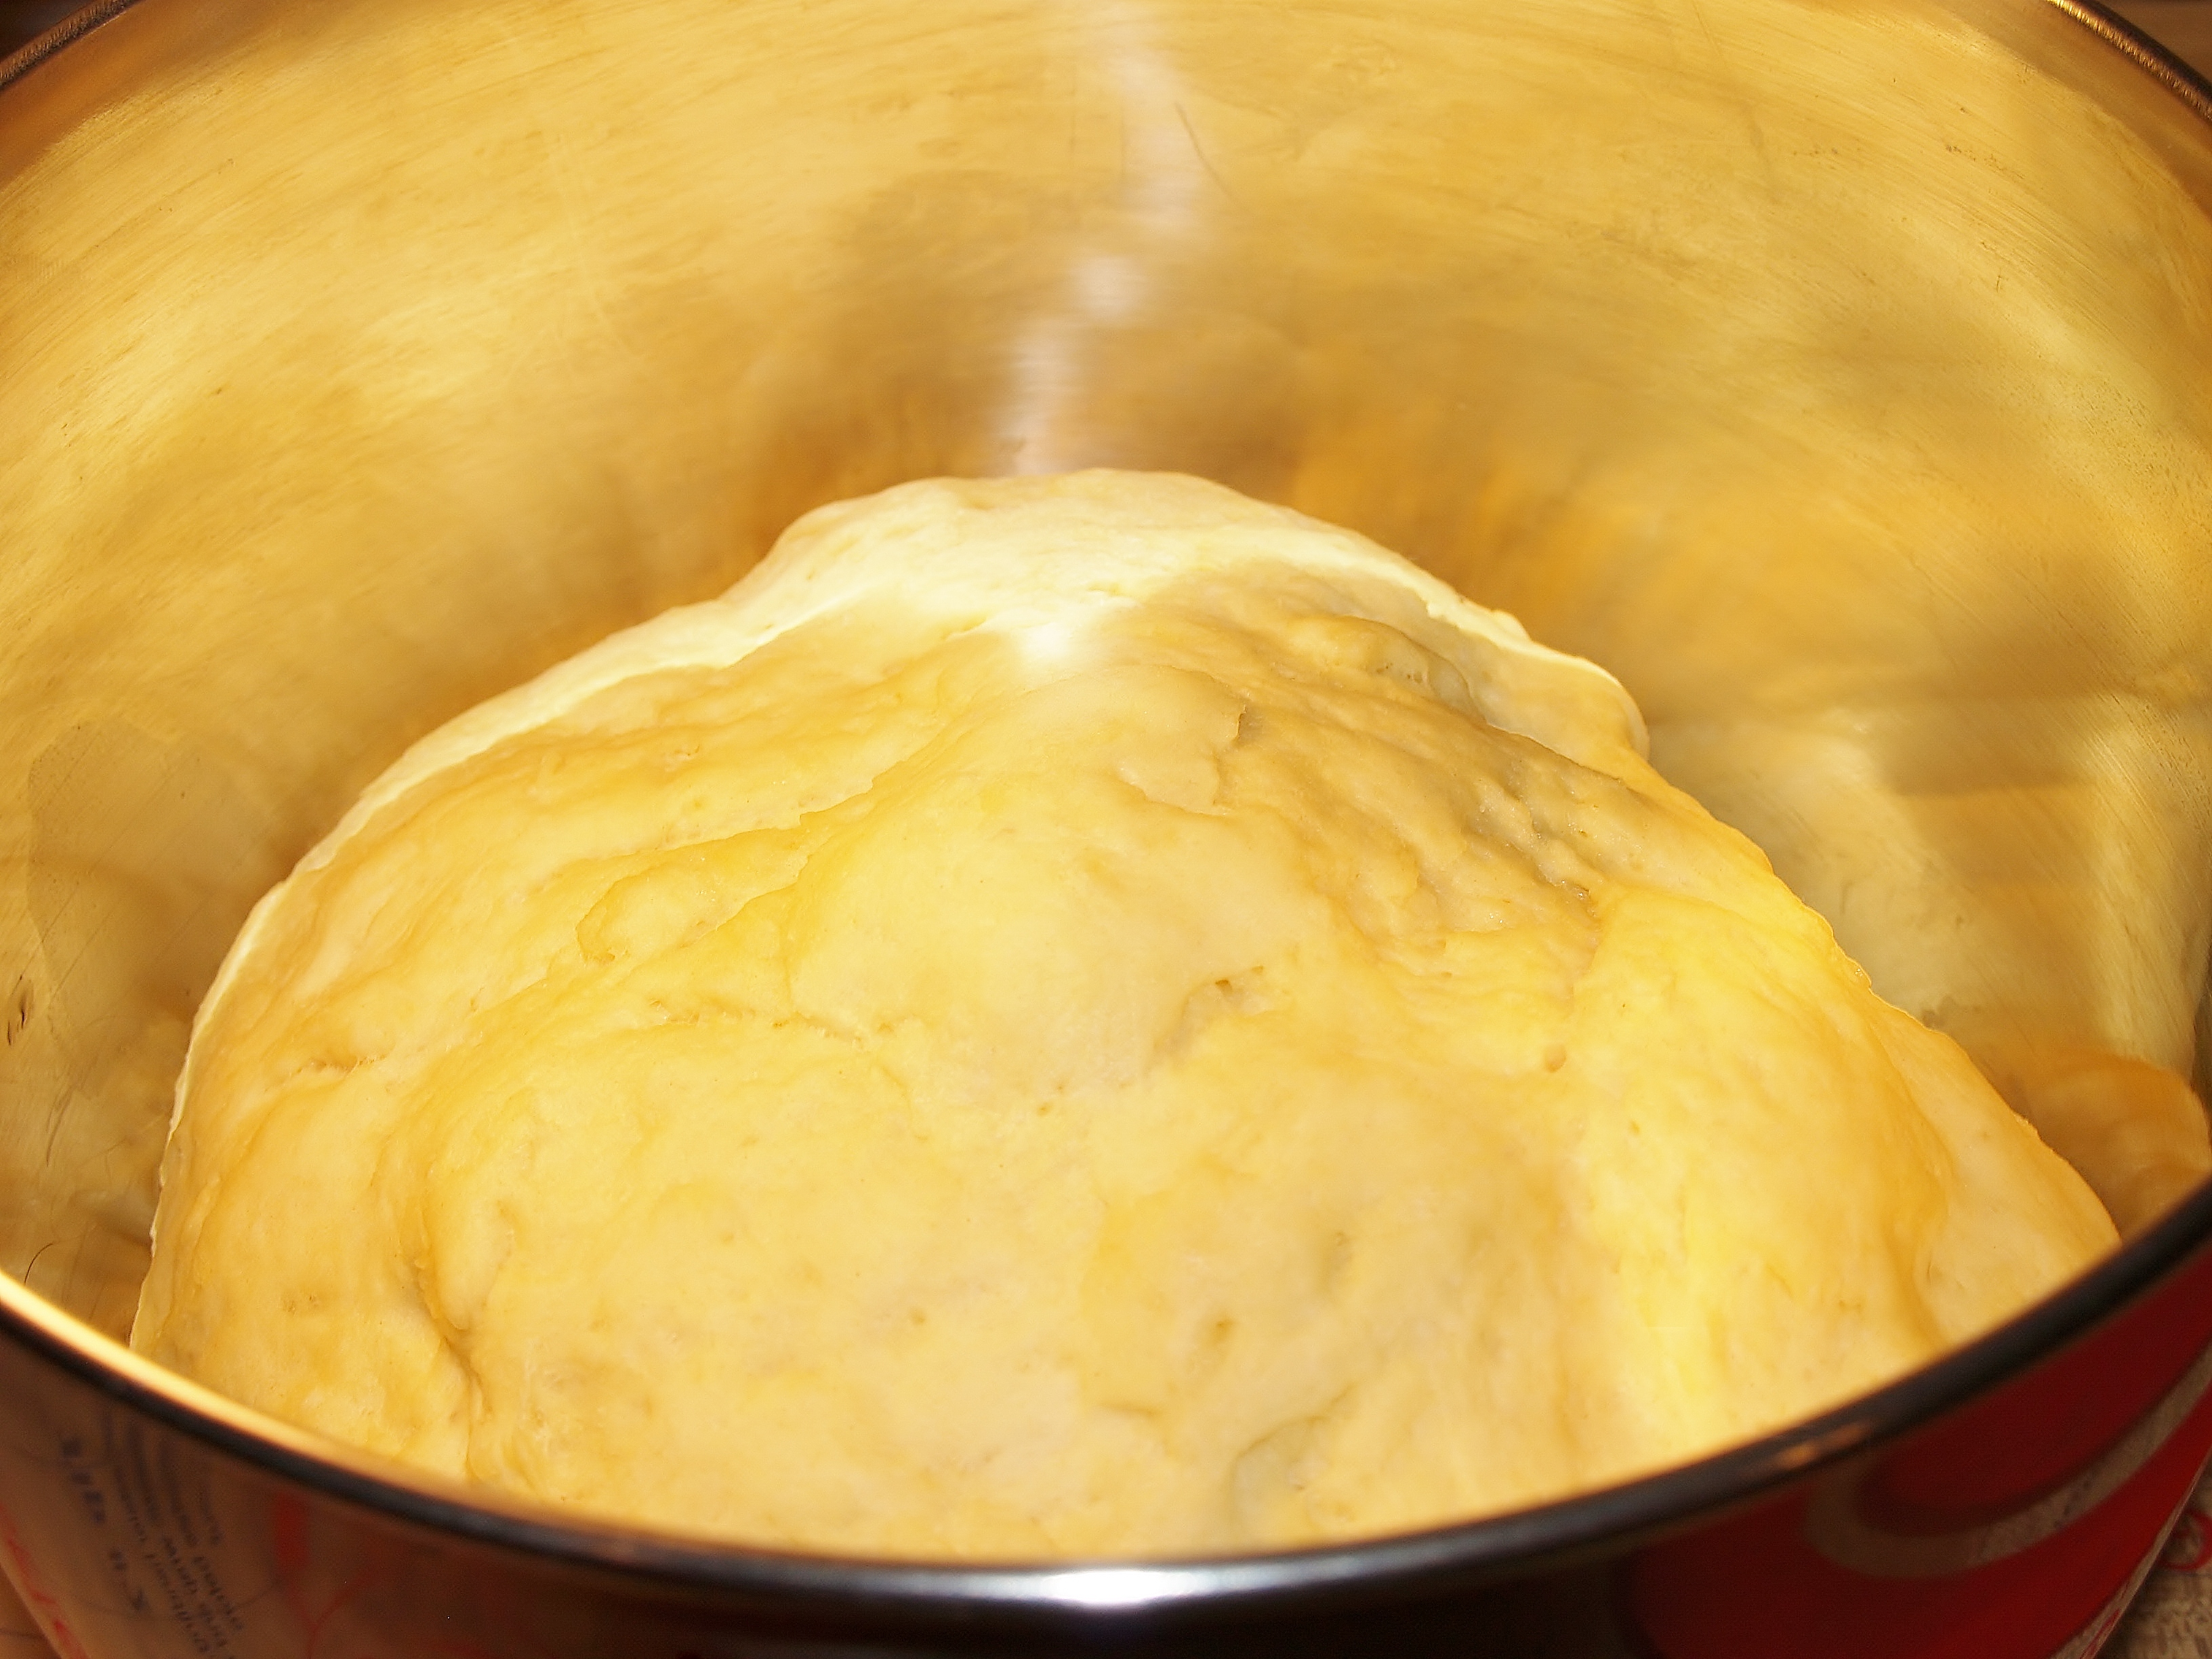
Mix with a mixer for 3-4 minutes or hand knead on a lightly floured place for 5-6 minutes.
I put a little olive oil in the bowl and covered turned the dough into the bowl, covered with a clean towel and let rise in a warm place for 1 hour.
It should look like this then:
Homemade Crescent Rolls/ Kelli’s Kitchen
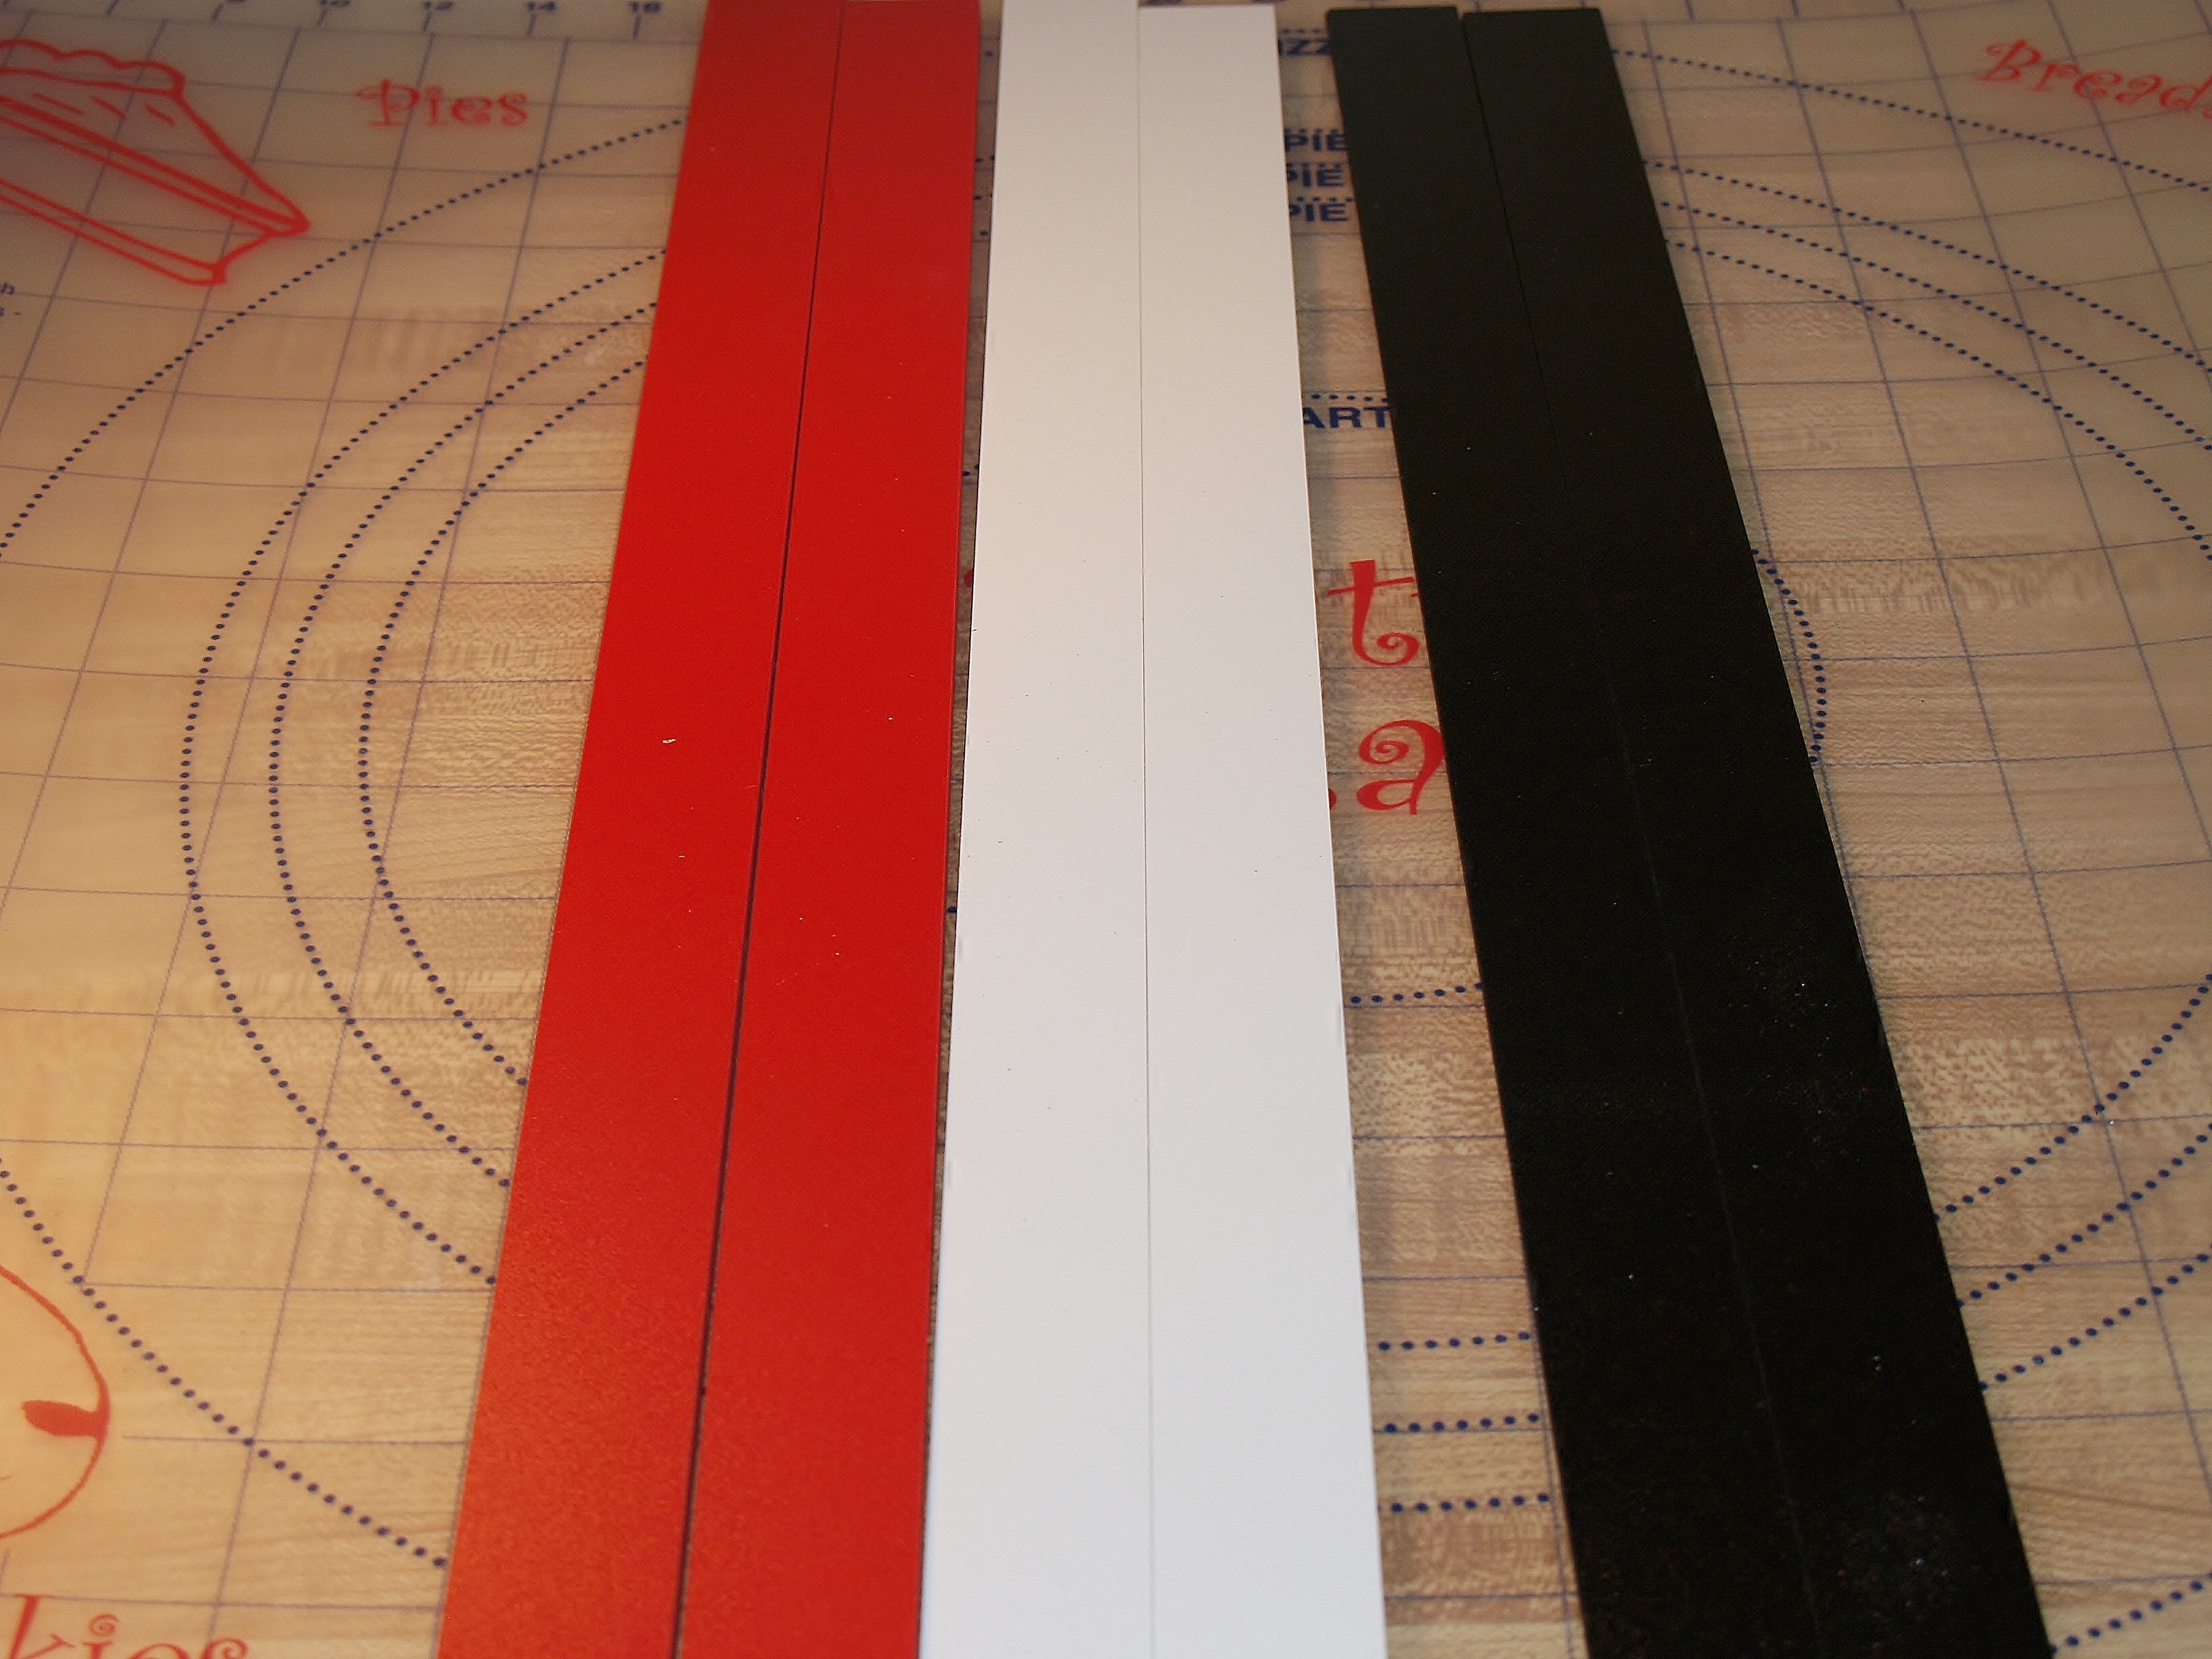
Turn out onto the floured board and knead a minute or two to get all the air out and then, with a rolling-pin, roll into a circle ¼ inch thick. I used my pastry mat and my measuring “sticks”. You can get them on Amazon.
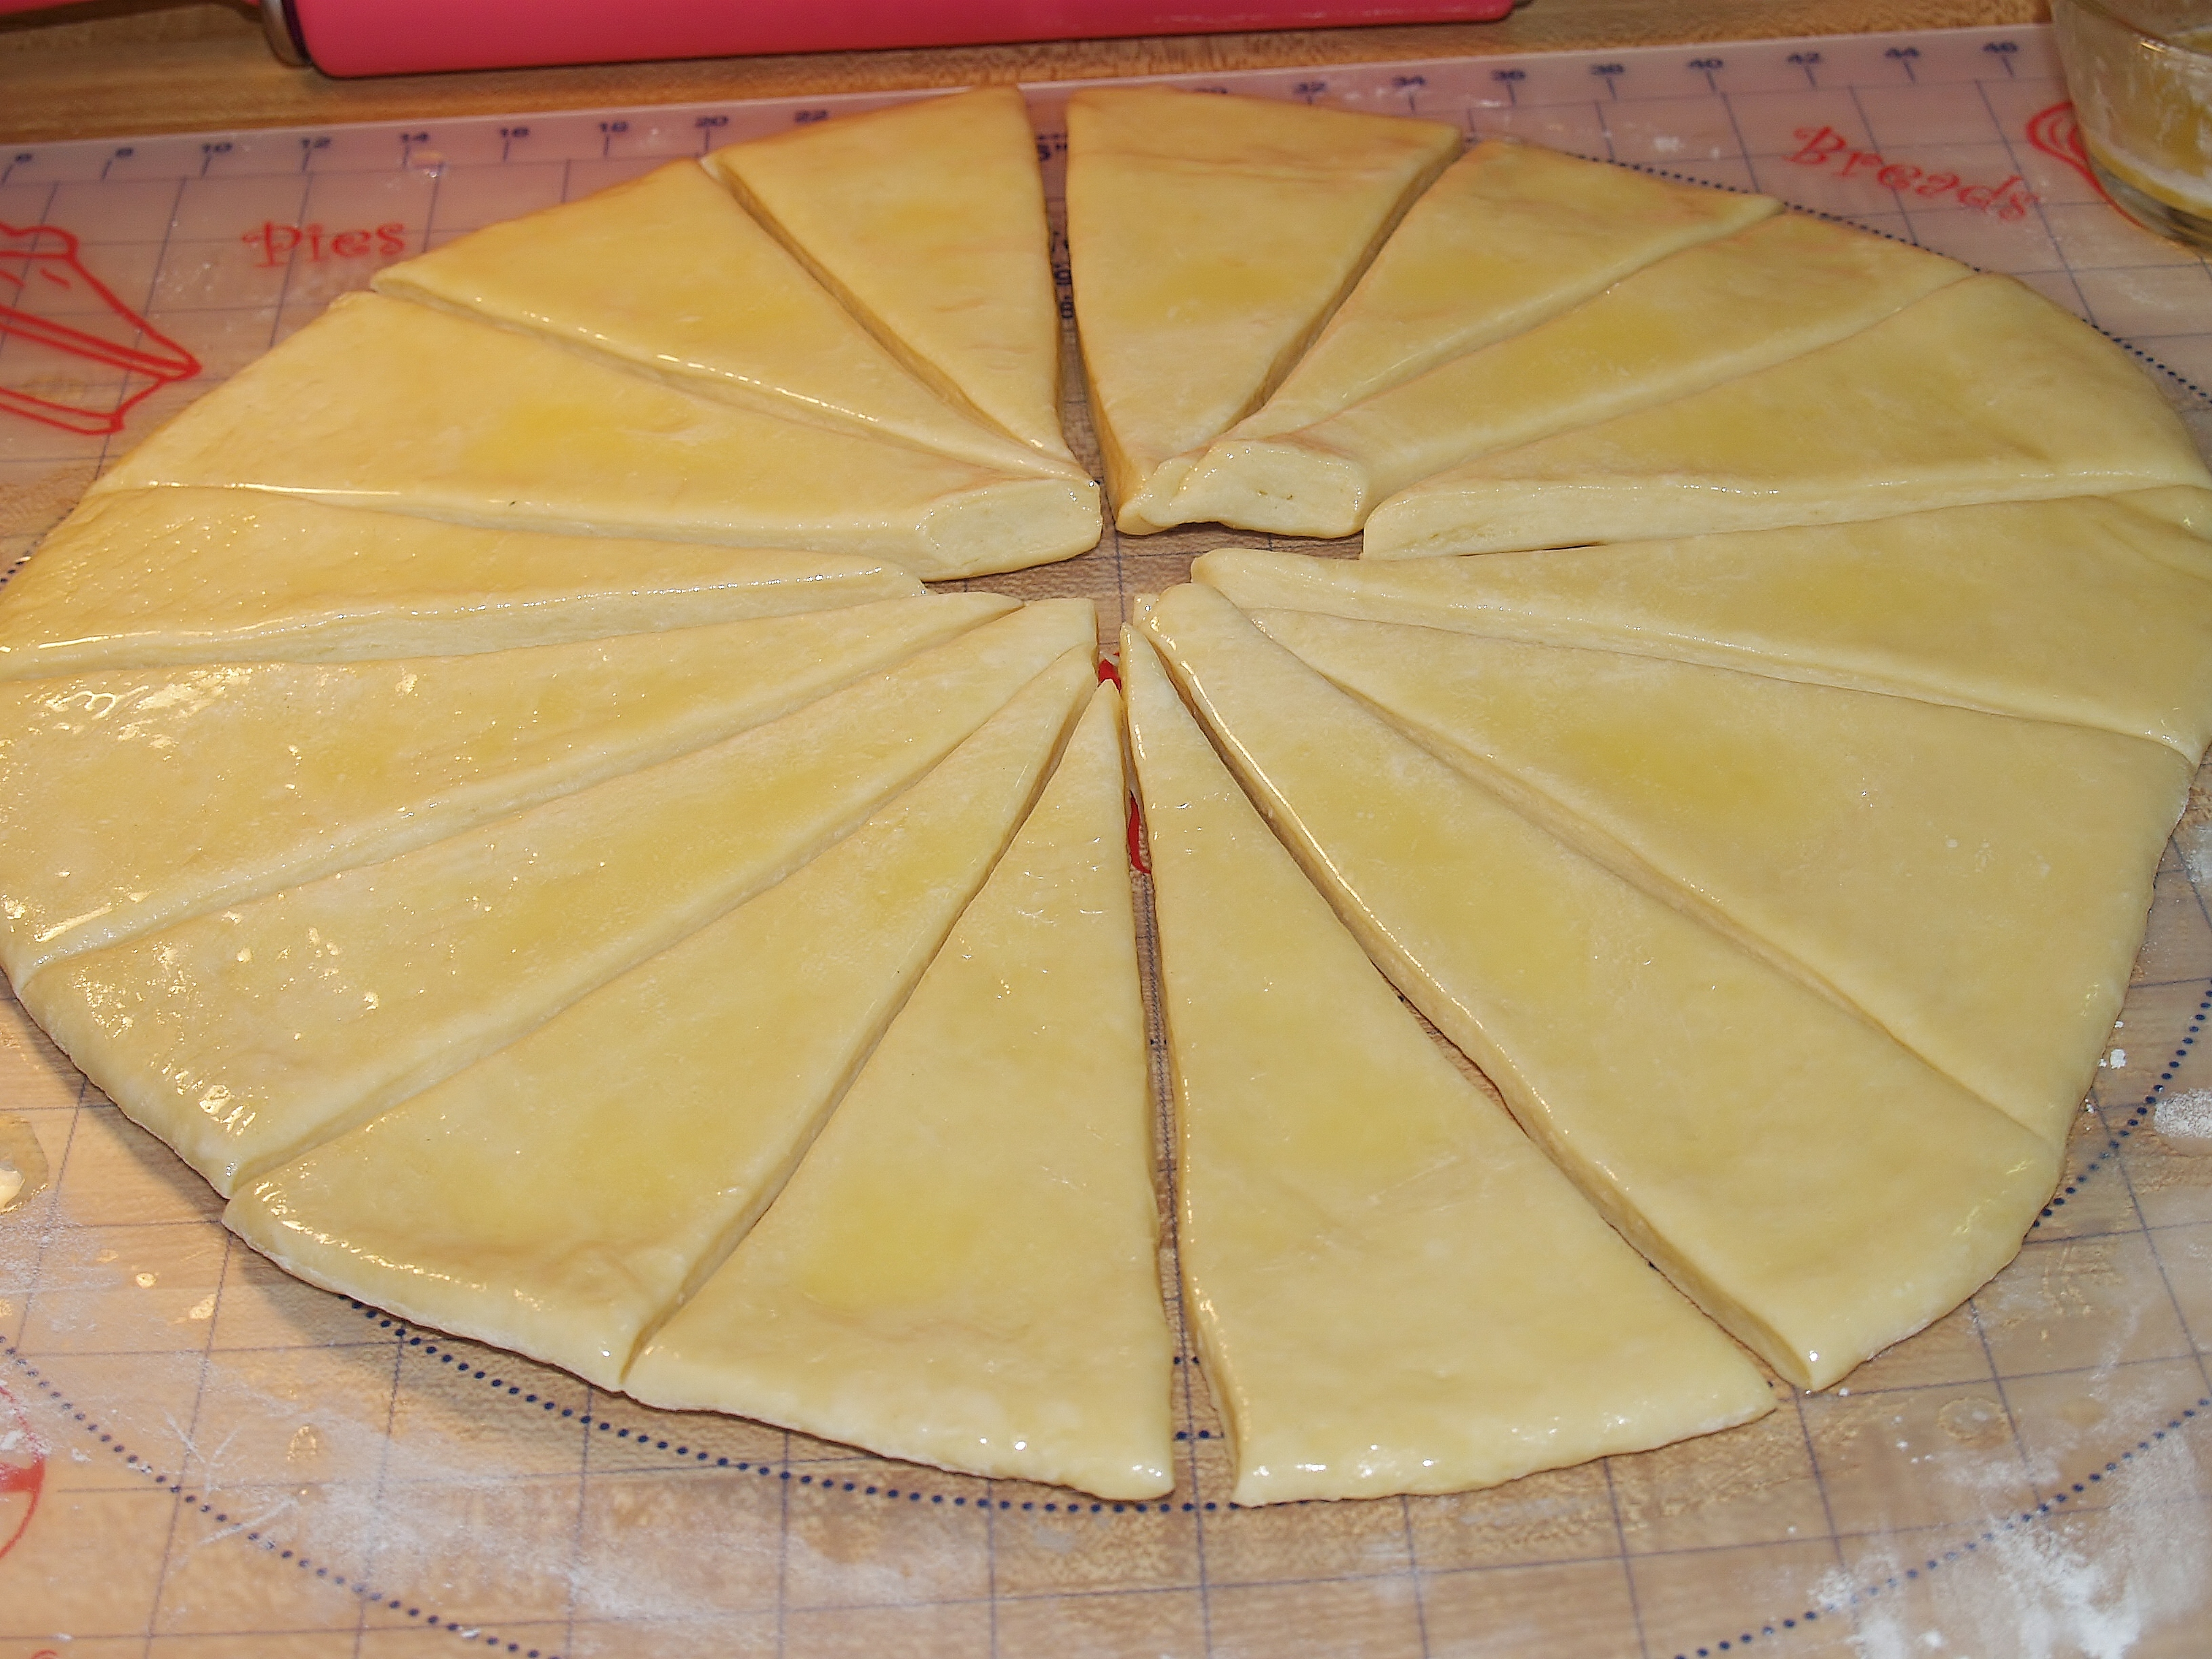
Homemade Crescent Rolls/ Kelli’s Kitchen
Then using a pastry brush, brush melted butter all over the top. With a pizza cutter, slice into 16 pieces.
Homemade Crescent Rolls/ Kelli’s Kitchen
Roll up each one so it looked like the canned crescent rolls. Cover with another clean towel and put in a warm place for another 40 minutes.
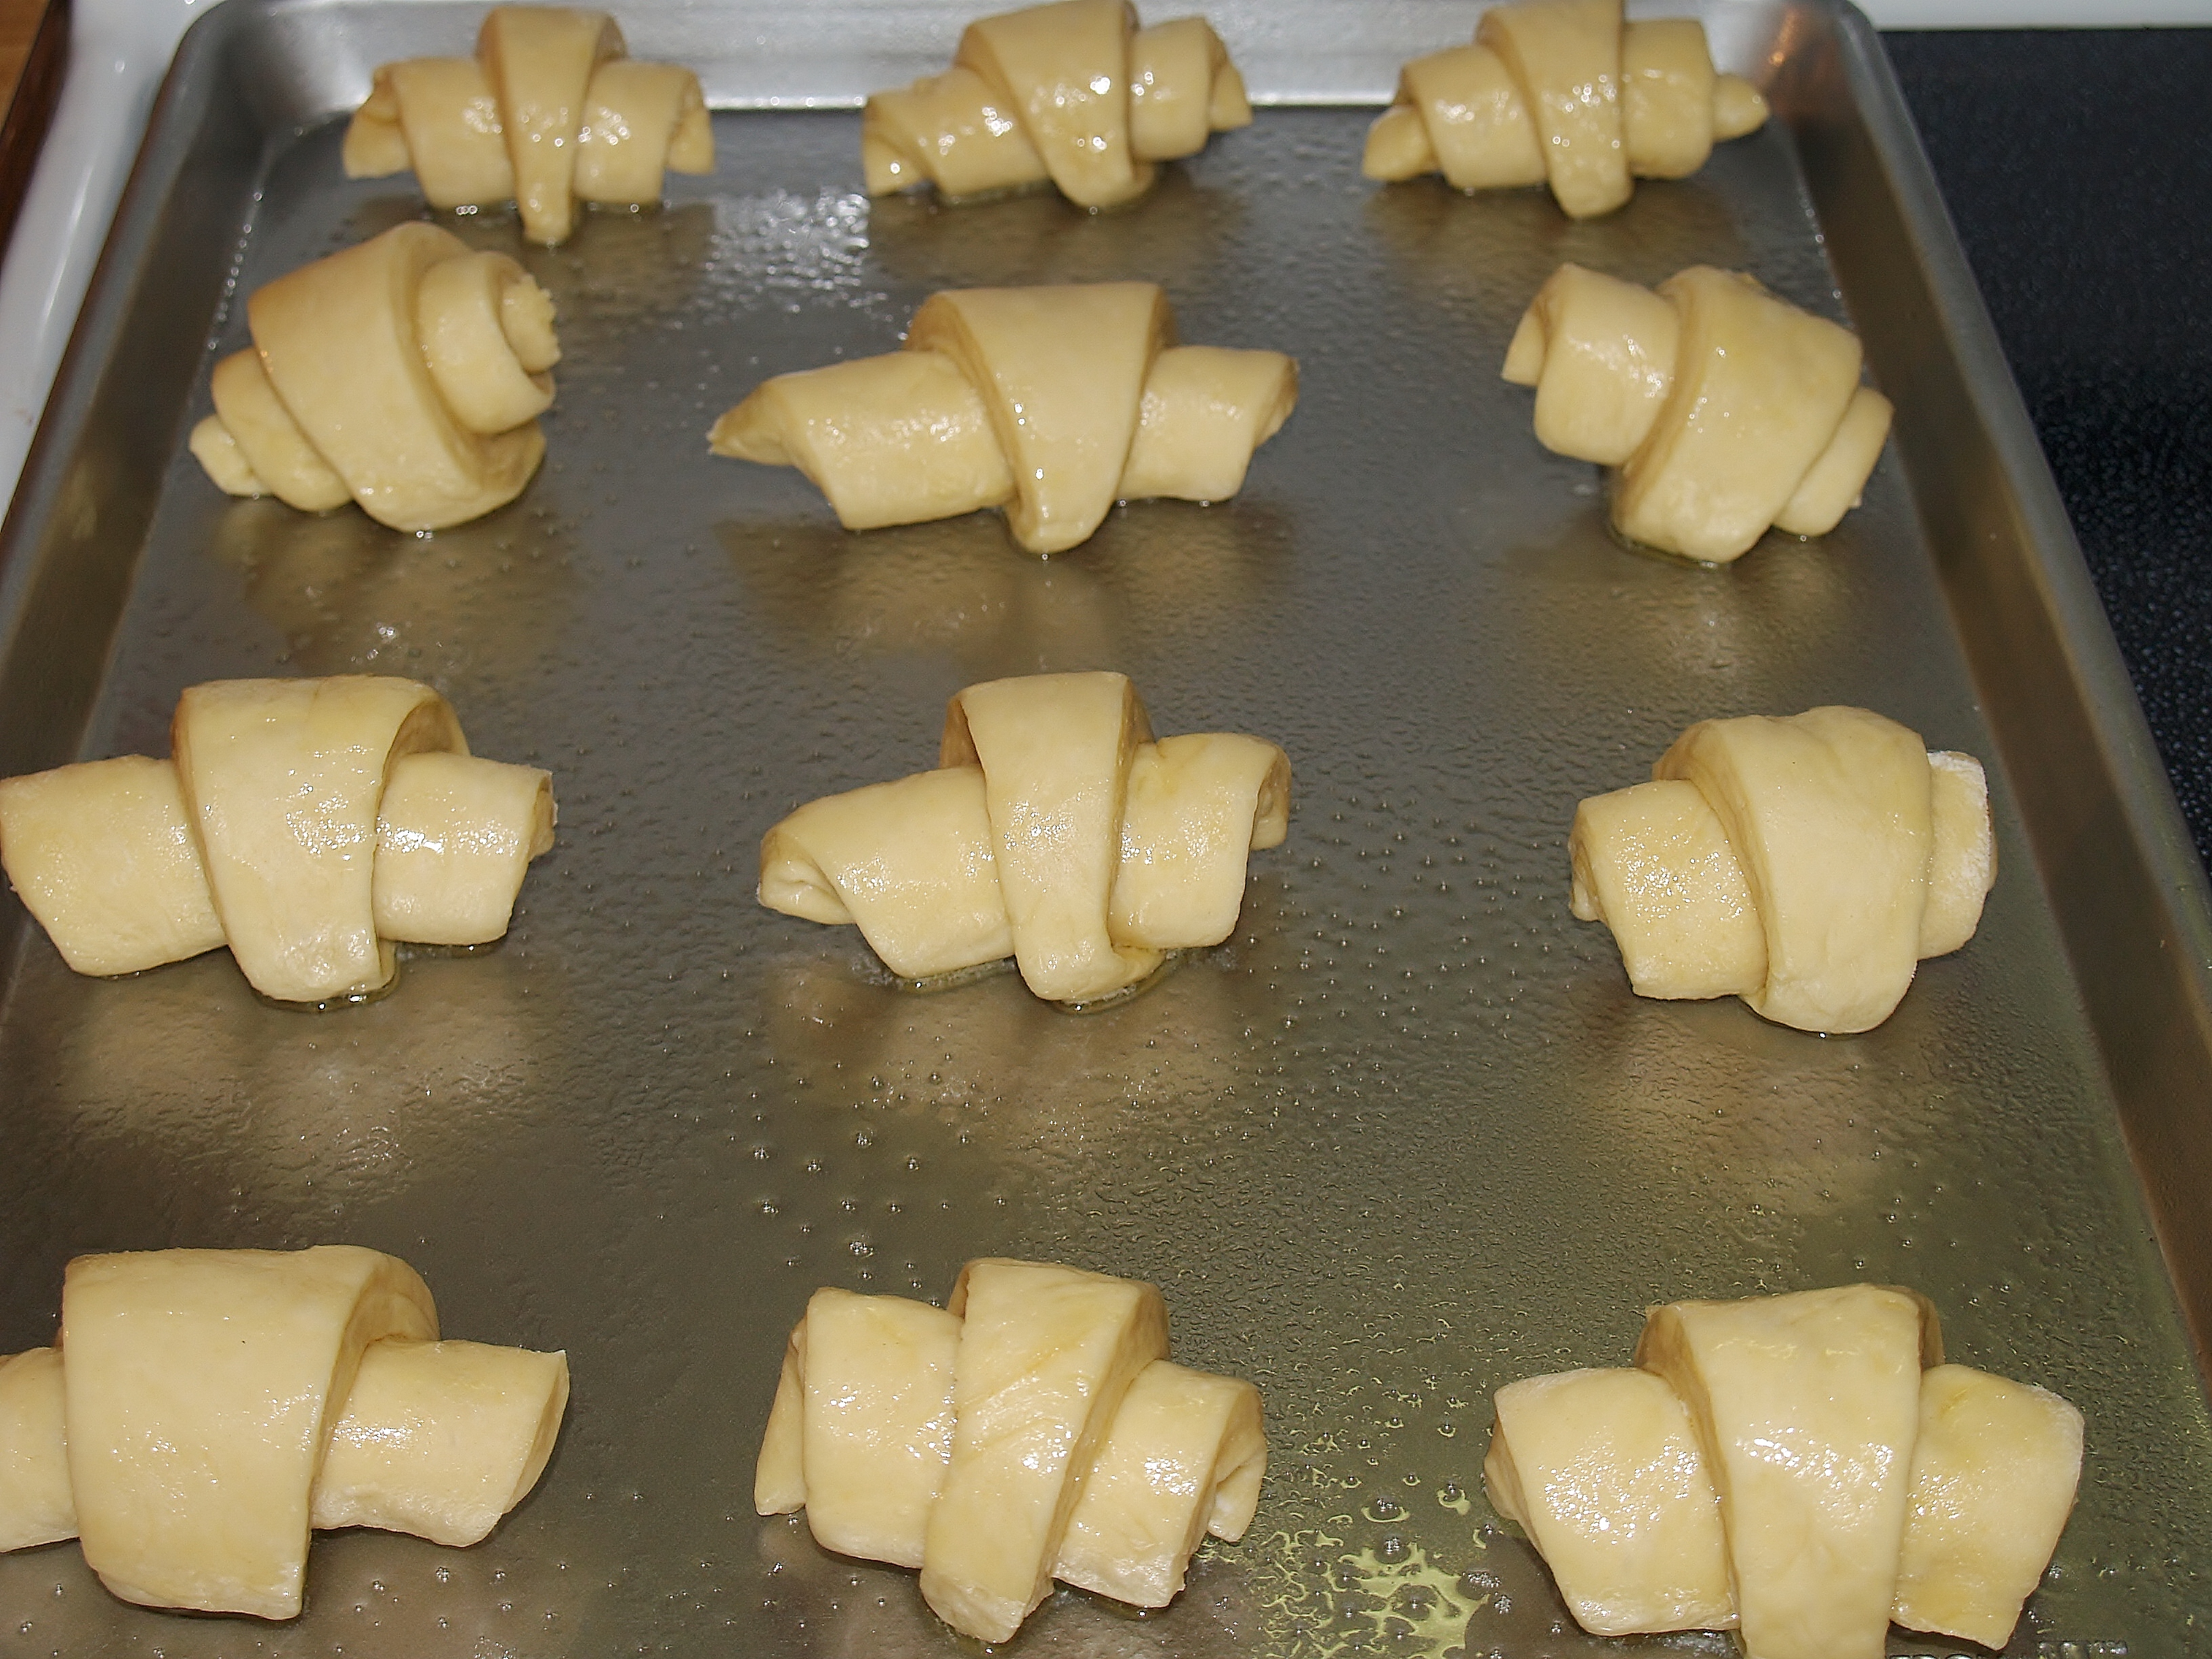
Homemade Crescent Rolls/ Kelli’s Kitchen
Preheat the oven to 375 F and place in oven for 10 – 15 minutes until they are browned.
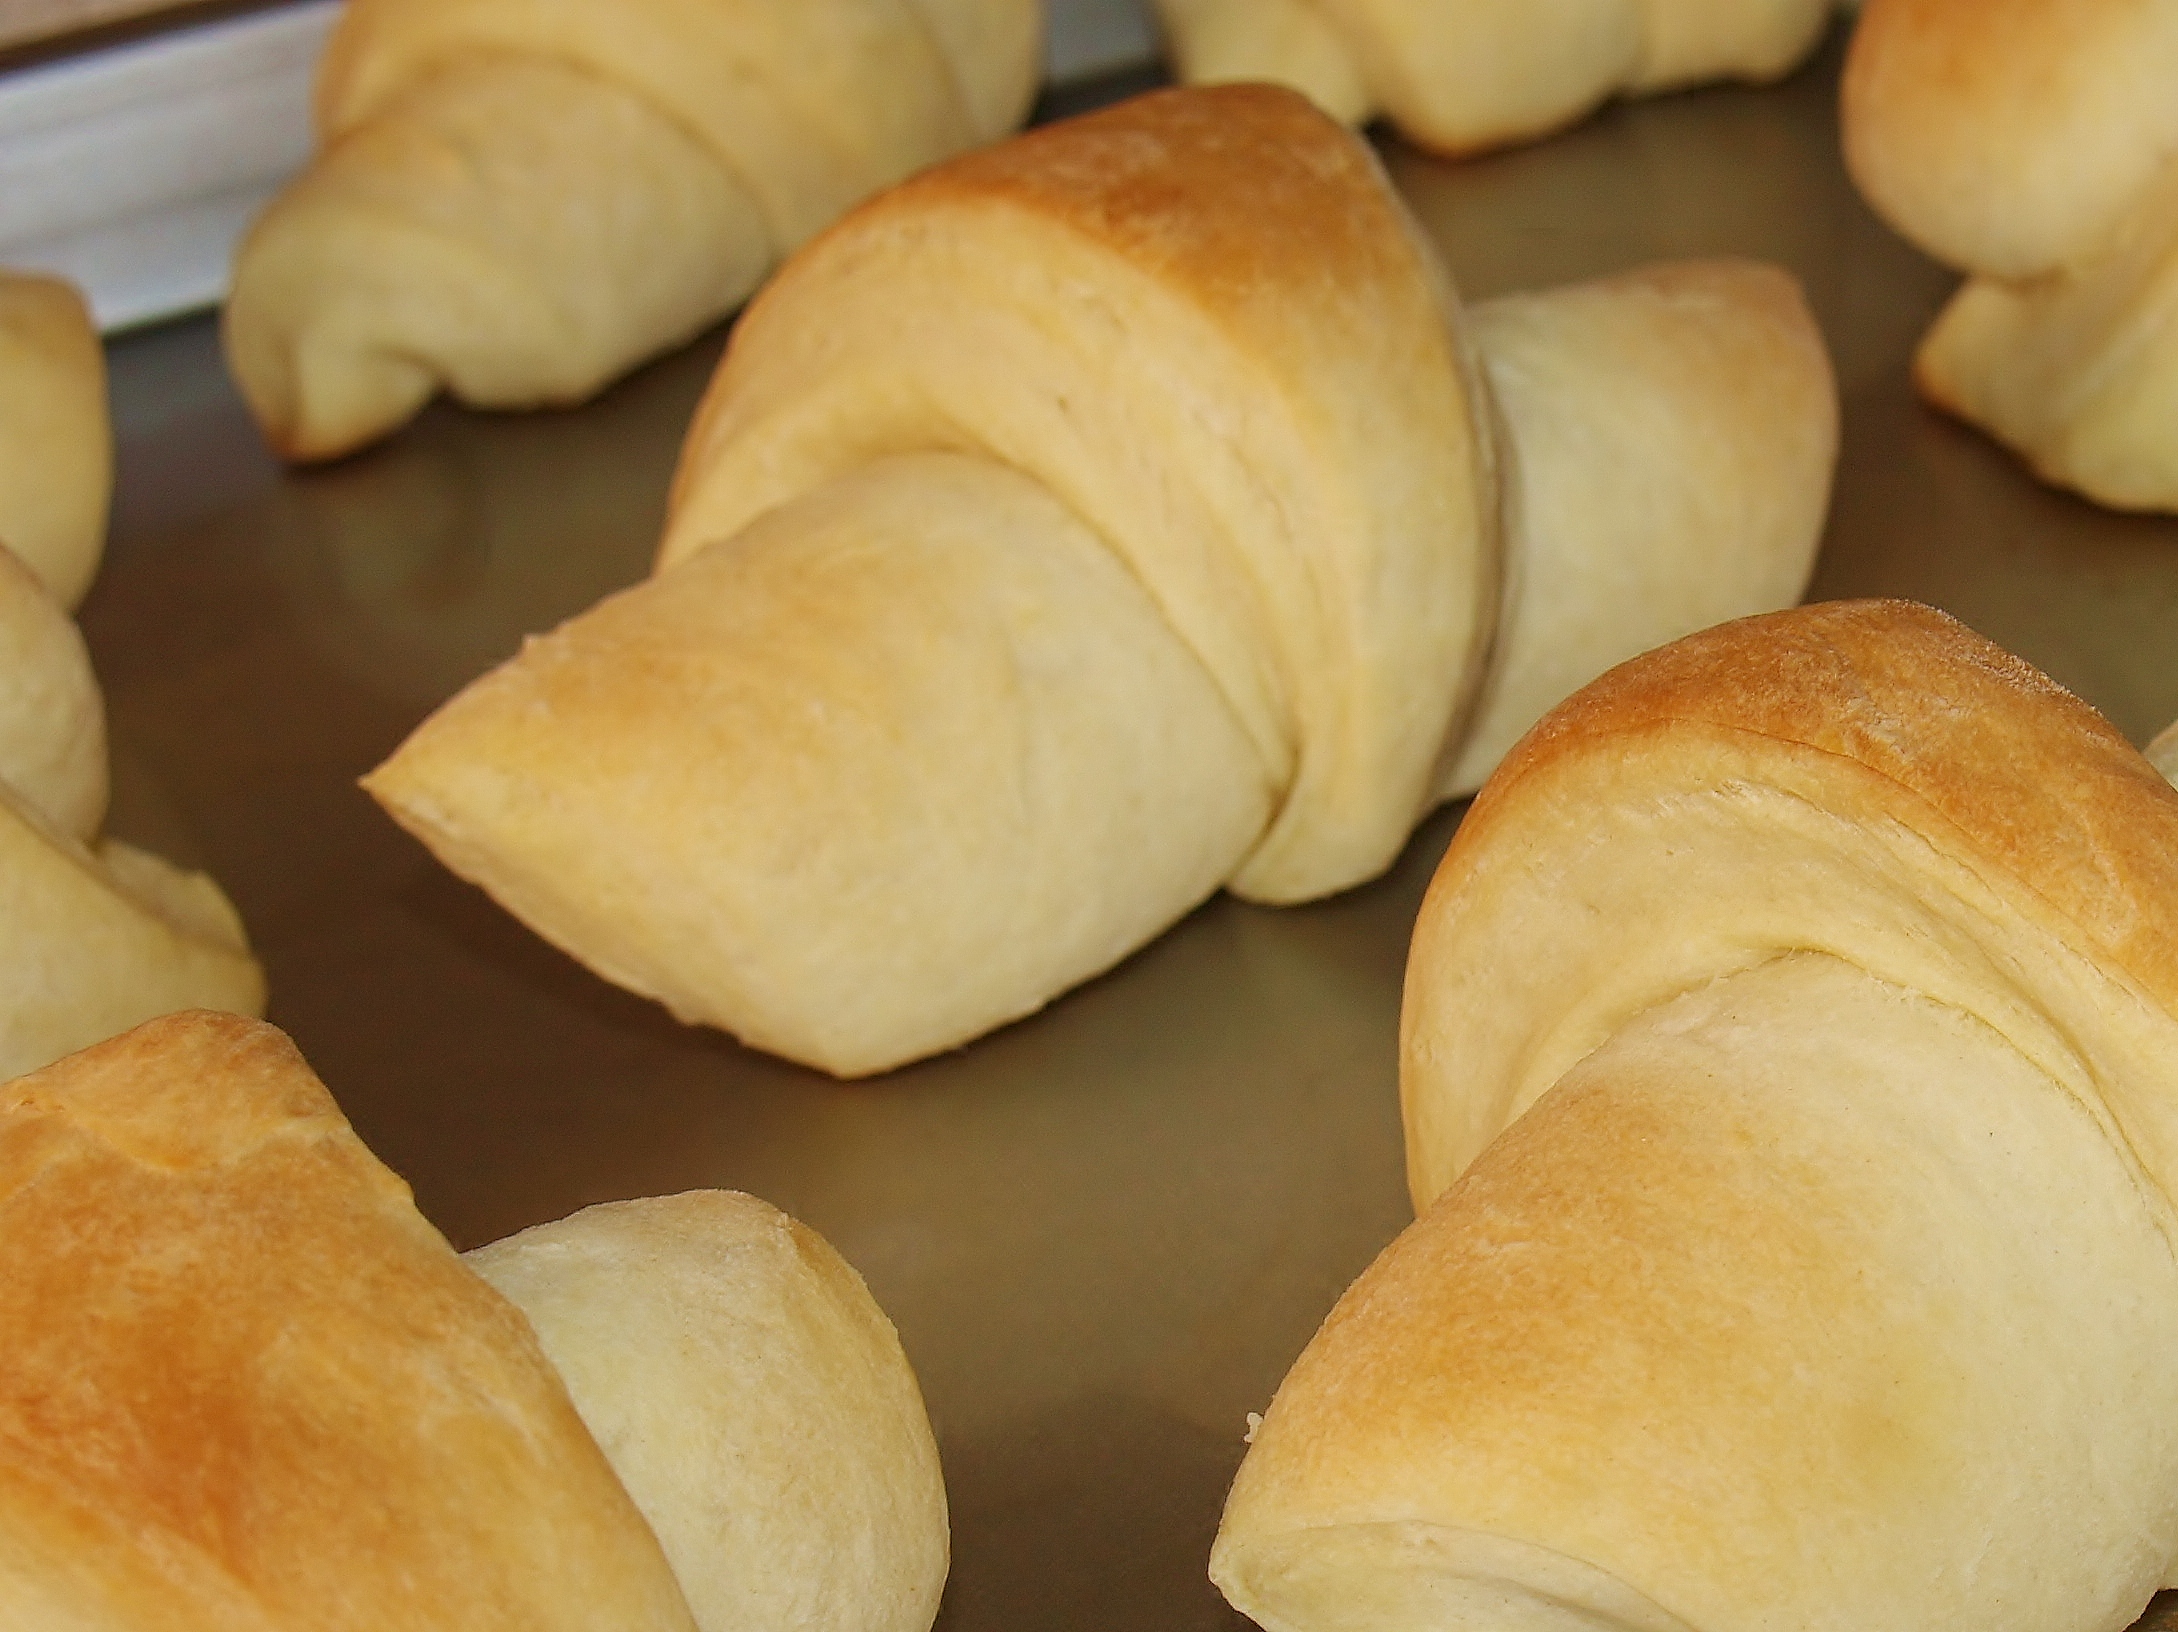
Homemade Crescent Rolls/ Kelli’s Kitchen
That was pretty darn easy! After he ate four in the first 5 minutes right out of the oven, he requested them every Sunday night. A win on my part – sort of – I’m not sure I really want to bake bread every Sunday!
Kelli, your rolls came out gorgeous! I think you need to do some negotiating before you commit to every week. Not that you won’t start to fall in love with yeast breads if you keep it up every week but get something out of it. Like the old rice krispie’s treat commercial, make them think you slaved for hours.
Great idea Joan – I will think on that! 🙂 Thank you for the compliment!
Bravo! They look wonderful and obviously, they tasted just as wonderful! Good job!!
Thank you!!
These rolls had me absolutely salivating my friend 😀
Cheers
CCU
Thank you! I can’t believe there are only 3 of them left!
I love your cuting mat and measuring sticks. I think I need those. I going to try to make those cresents. I can actually do those here. I love your blog. 🙂
Hey Liz! Glad to hear from you – that mat is so nice since it doesn’t allow the dough to stick to it which is very nice! and I always have trouble determining how thick the dough is – the sticks make it easy!
These look so good but now you’re in trouble ‘cuz everybody wants them – Shoot, even I want them 🙂
Thanks CJ – Since it takes a while to make them – at least I’m safe during the week! It’s the weekends I have to worry about!
I still haven’t baked my own bread but I can only imagine the smell must be intoxicating. Your crescents look completely professional!
ya think? Cool! I’m feeling they are even better now that they are professional looking. Yay!!
They are beautiful but maybe too successful…every Sunday, oh my!
I’ve never liked bread that came out of a can, but from the list of ingredients, I can tell these are going to be good. I’ll be trying them.
Lillian
lillianscupboard.wordpress.com
Ah…….but I bet you have made bread all your life. Only my Nana made bread in our family and once she was gone – it was Wonder Bread and Pillsbury Doughboy cans for us!
These look AMAZING. i wish I had some right now. I’m not big on making my own bread because of my instant gratification issue. I hate waiting for the dough to rise and such. I bet these would be worth it, though!
They are! And it wasn’t too long a wait – just a couple of hours. Worth it!
Oh boy, do those look gooooood!
Thank you! I made a different version of those this week – they are cinnamon crescents which I will post tomorrow and they are fantastic! That recipe is so easy!
They look wonderful! I would love to have some right now to dip in some jelly 🙂
Those look so good!
Thank you! I’m so glad you commented on this recipe – I’m going to make these again tomorrow. It’s cool enough and they are just incredibly tasty! I appreciate you dropping by – please come again!
Kelli! These are beautiful!! As good as they are, I can’t bring myself to buy the ones in the can, so these will definitely be made at my house. yummy yummy!!!
We love that recipe here – they are so tender and good. I make them often when it’s not summer! 🙂 I know your girls will love them too!
Can I either freeze or refrigerate them for baking at a later date?
Yes! Just set them on a sheet pan and freeze then drop them in a Ziploc bag and take out the number you need. Add a little time for baking from frozen but only about 10 minutes!